



DIY guideAttic and insulation
Assess the attic insulation and top it up
From the hatch, see how deep the insulation is, and lay more where it's thin while keeping the vents, the lights and the flue clear. Pebbly fill means stop.
- 30 min to 3 hr
- 7 steps
- Every step animated
7 steps
Tap a step to watch it again.
Open the hatch and shine a light across the attic before you climb in.
Wear a dust mask, goggles, gloves and long sleeves: the fibres itch.Loose grey-brown pebbles with shiny flecks: don't touch them or climb in. Close the hatch.
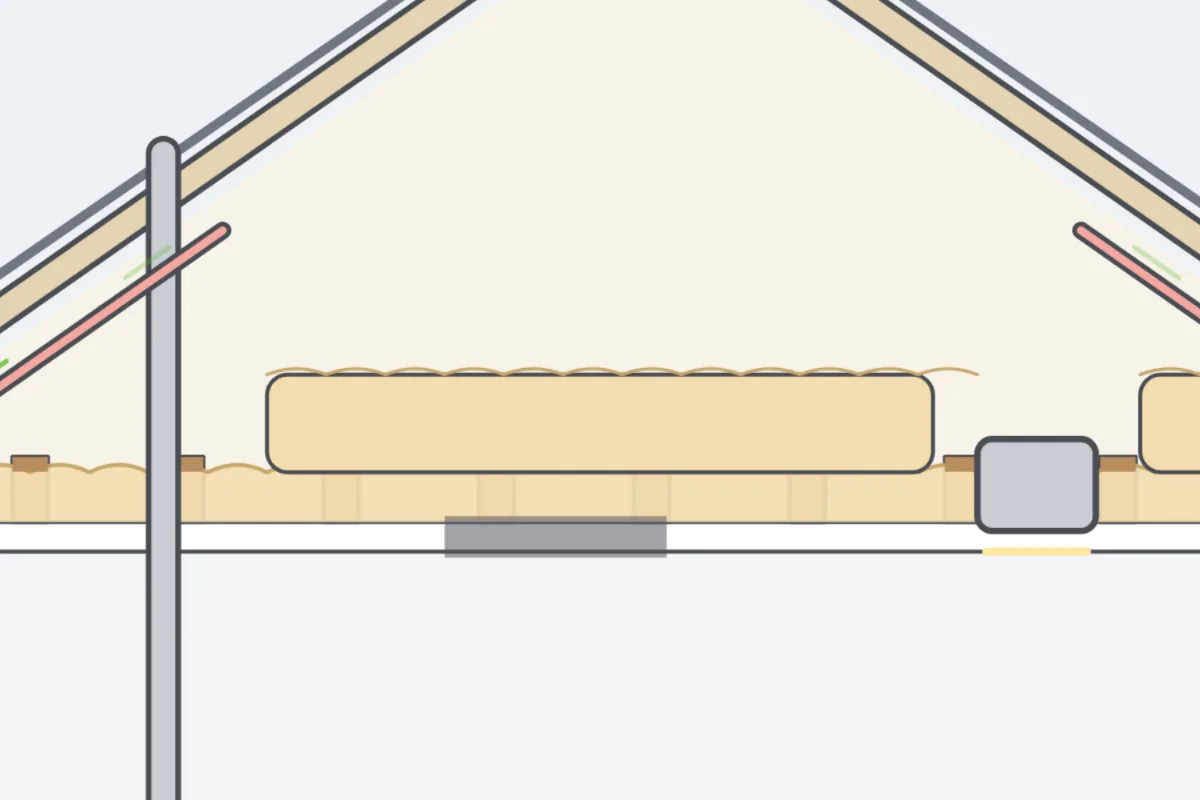
It may be vermiculite, which can hold asbestos.Stand a ruler in it in a few places. If it only comes up to the tops of the wood framing, or below, it's thin.
Lay boards across the framing to kneel on, and move them as you go.
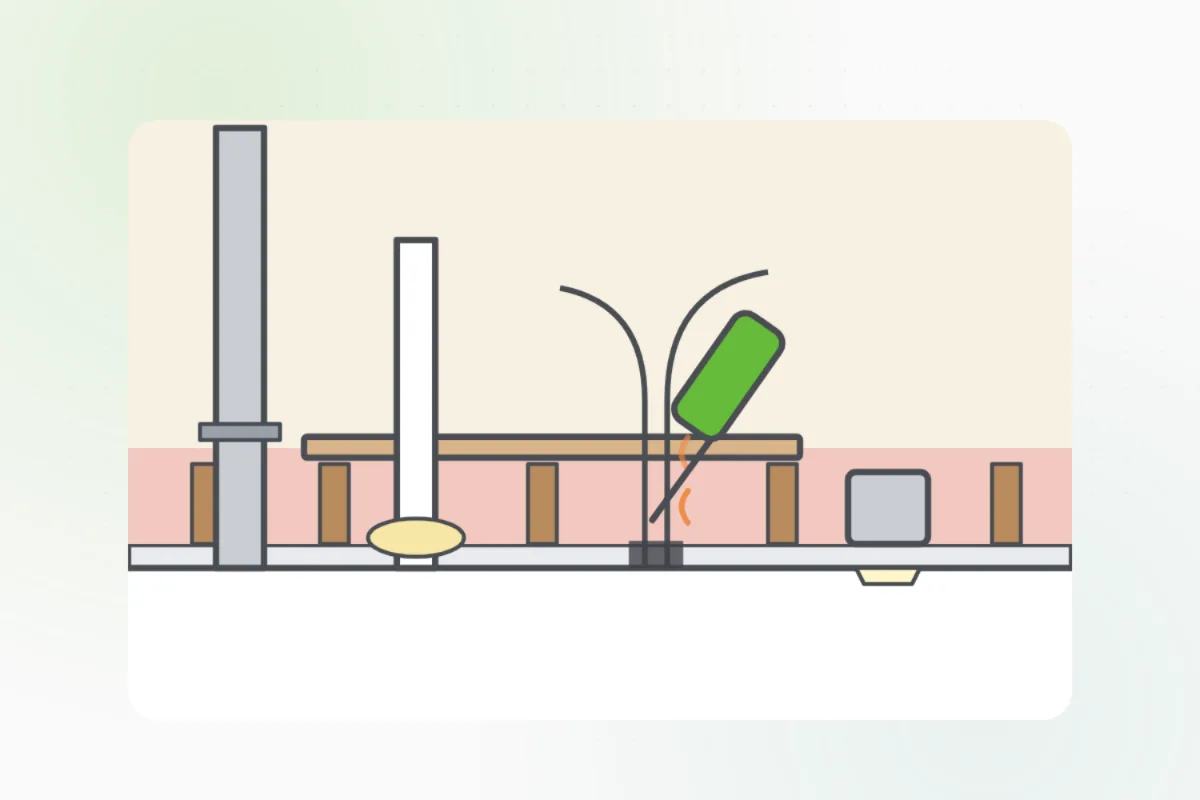
Step only on the joists or the boards: the ceiling between them won't hold you.Where the roof meets the walls, fit a baffle in each space so new insulation can't block the vents.
Roll unfaced batts across the old layer, at right angles to the framing, without squashing them. Loose fill needs a rented blower.
Keep insulation a hand's width from the chimney, flue pipes and old recessed lights.Pebbly fill, wet or mouldy insulation, or frost on the roof boards: leave it and ask Handyman for an insulation pro.
What you need
- A dust mask, goggles, gloves and long sleeves
- A flashlight and a ruler
- Boards to kneel on
- Unfaced batts, and foam baffles for the edges
Call a pro if
- The fill is loose and pebbly, grey-brown with shiny flecks
- The insulation is wet or mouldy
- There's frost or dark stains on the roof boards
- You'd rather have loose fill blown in

Handyman says: Wet or pebbly? I'll find an insulator.
Free for every home. Handyman asks a few questions, then books a pro it trusts.
More heating and air guides
See all 51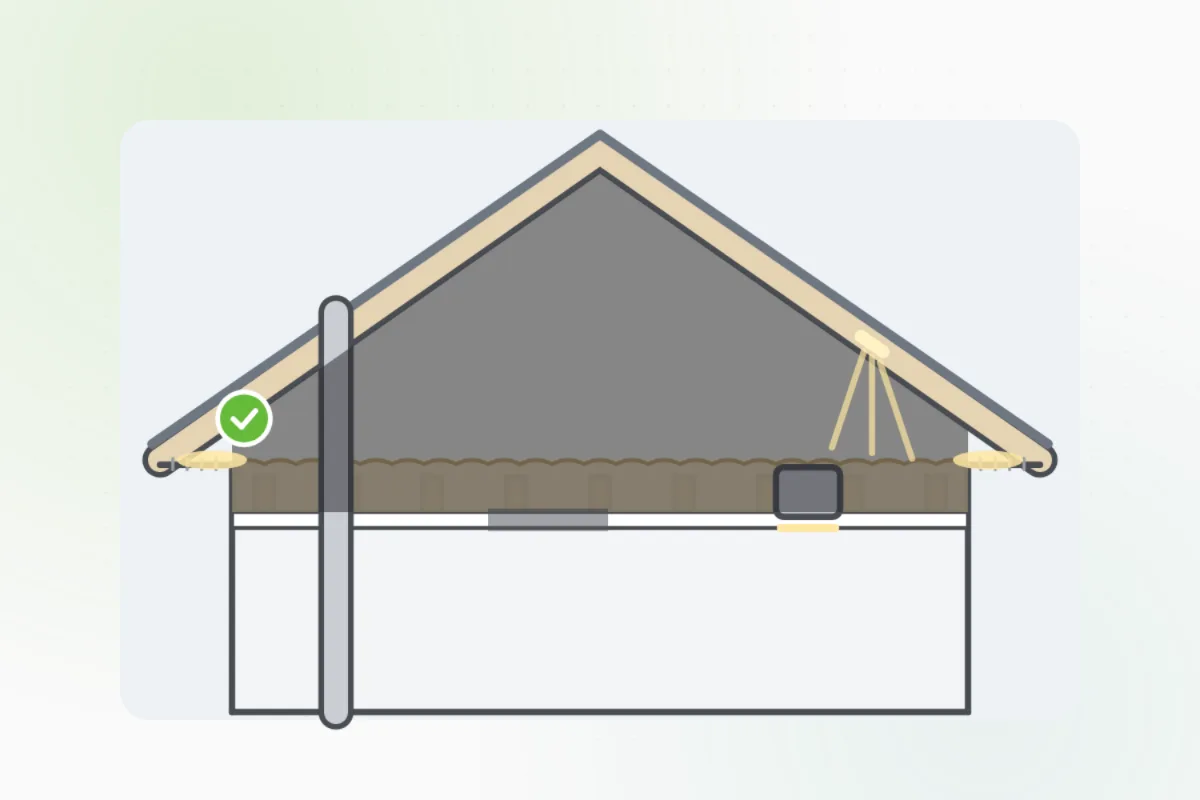
Rather have
a pro do it?