



DIY guideAttic and insulation
Look into the attic from the hatch
From a ladder at the hatch, look for frost, damp, daylight and nests, so a roof or vent problem is caught early. Never touch pebbly insulation.
- 10 to 20 min
- 8 steps
- Every step animated
8 steps
Tap a step to watch it again.
Open a stepladder fully under the hatch, on a clear, level floor.
Don't stand on the top step, and keep a hand on the ladder.Push the hatch up and slide it over.
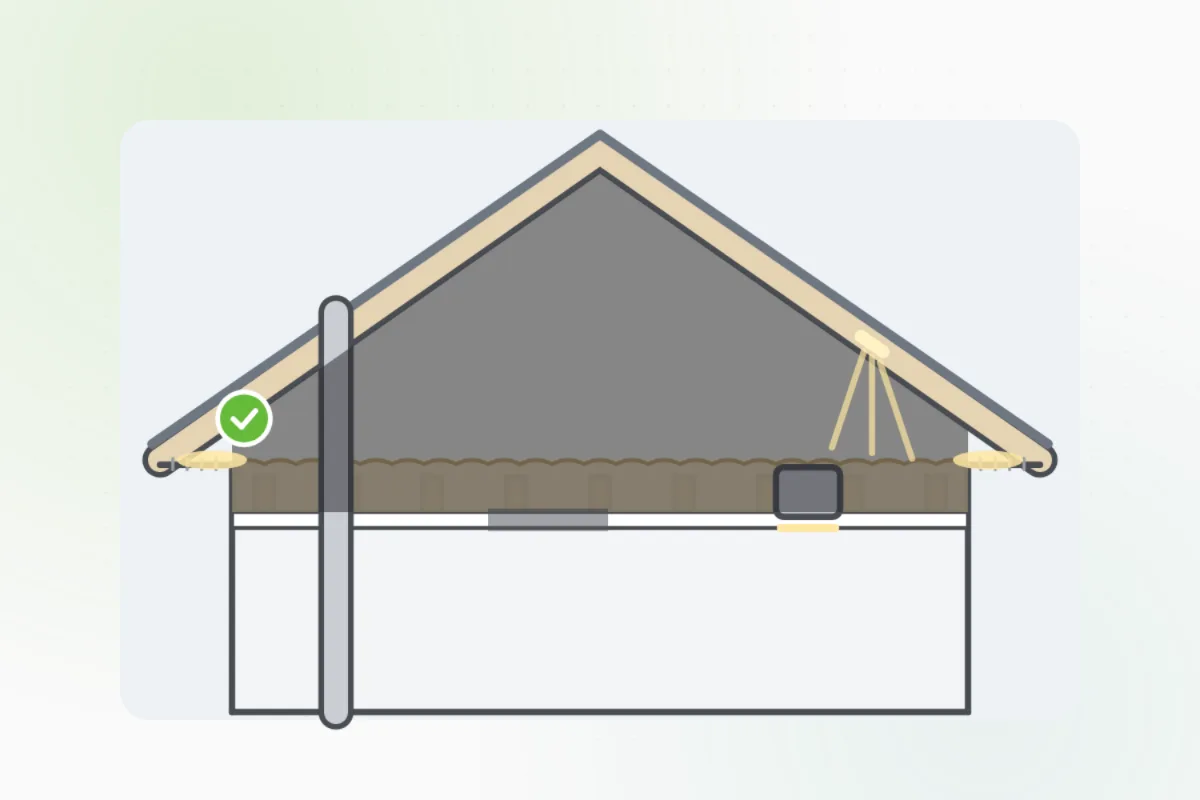
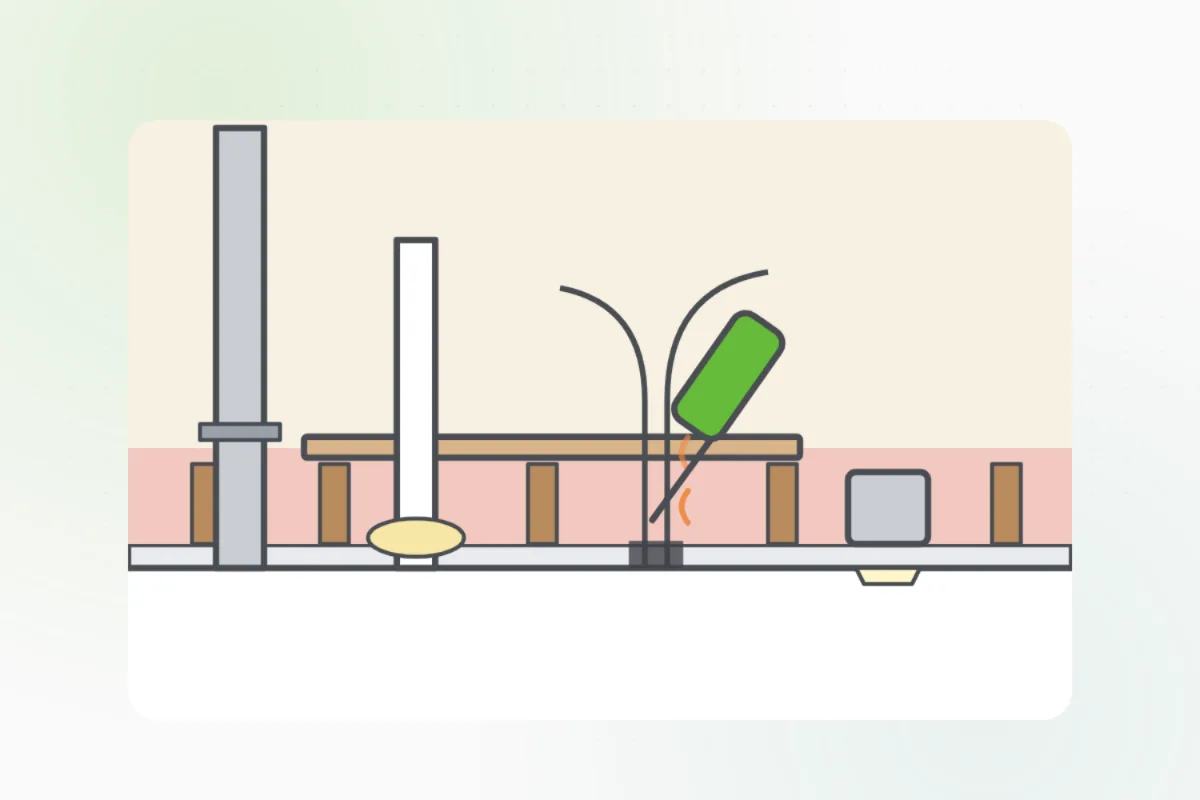
Wear a dust mask and goggles: dust and fibres can fall as it opens.Shine a light on the underside of the roof. Frost, dark stains or wet patches mean damp air or a leak.
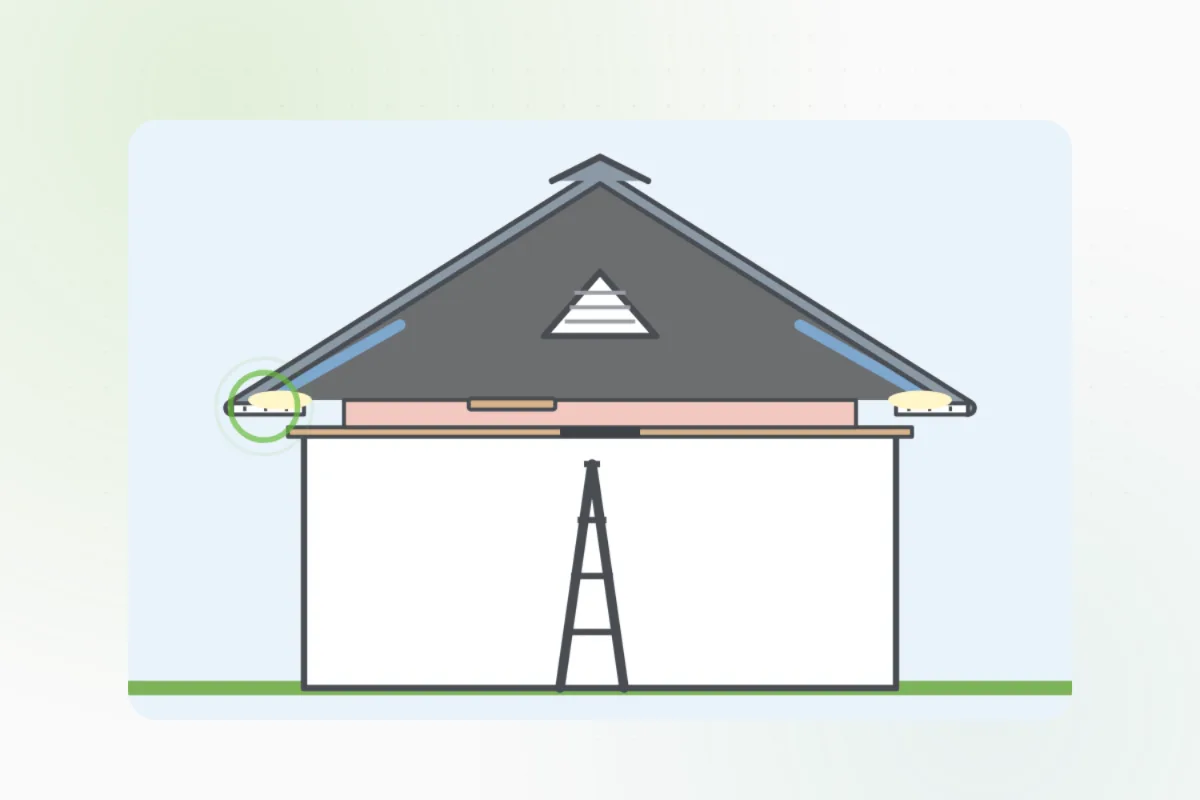
Switch your light off for a moment. Daylight anywhere but the vents at the edges means a gap.
It should be even and dry. Flattened or wet patches, droppings or nests need a look.
Loose grey-brown pebbles with shiny flecks: don't touch them or climb in.
It may be vermiculite, which can hold asbestos.Look at the wall between you and next door. It should run solid up to the roof; gaps are a pro's to close.
Close the hatch and take photos. Frost, stains or daylight: ask Handyman for a roofer. Droppings: a pest pro. Pebbly fill: a tester.
What you need
- A stepladder
- A bright flashlight
- A dust mask and goggles
- Your phone, for photos
Call a pro if
- Frost, dark stains or wet patches on the roof boards
- Daylight through the roof
- Droppings, nests or chewed insulation
- Loose, pebbly fill: don't touch it
- Gaps in the wall to next door

Handyman says: Damp or daylight? I'll find a roofer.
Free for every home. Handyman asks a few questions, then books a pro it trusts.
More heating and air guides
See all 51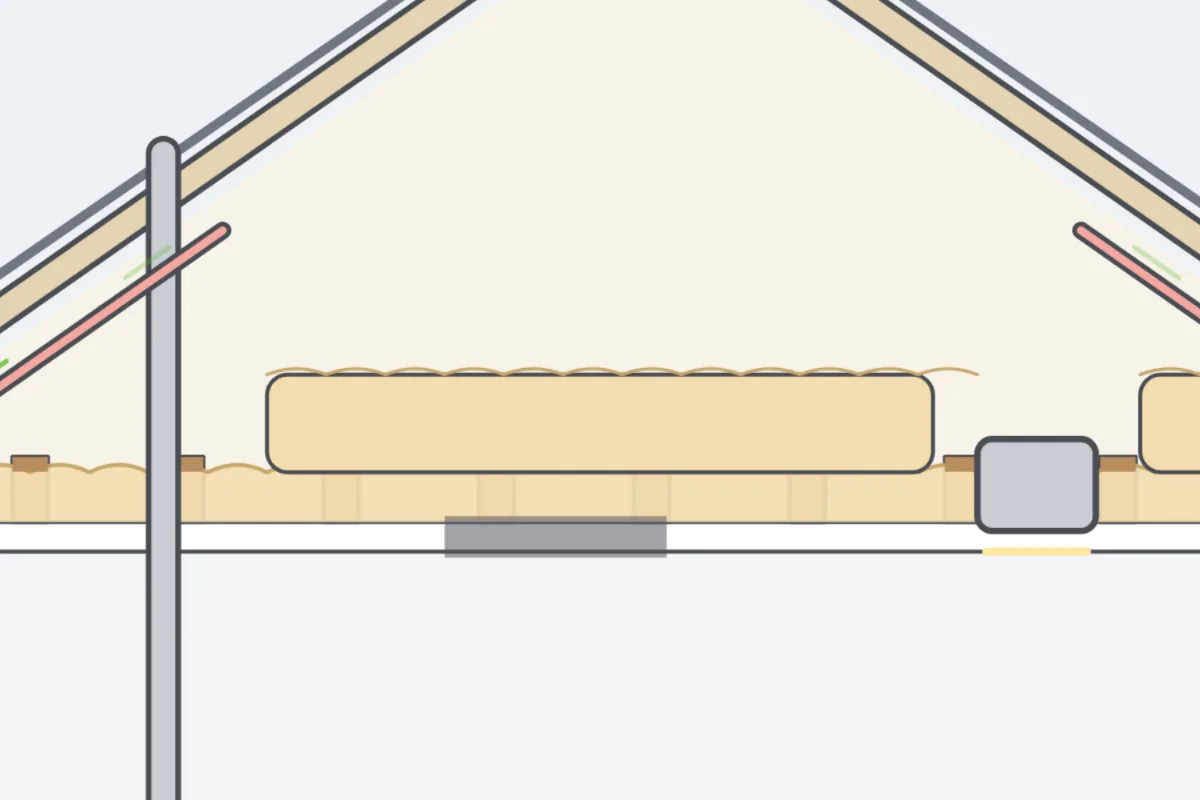
Rather have
a pro do it?