



DIY guideAttic and insulation
Seal the attic hatch and ceiling air leaks
Find where warm air escapes into the attic, weatherstrip and insulate the hatch, and foam the small gaps round pipes and wires.
- 1 hr to 2 hr
- 7 steps
- Every step animated

7 steps
Tap a step to watch it again.
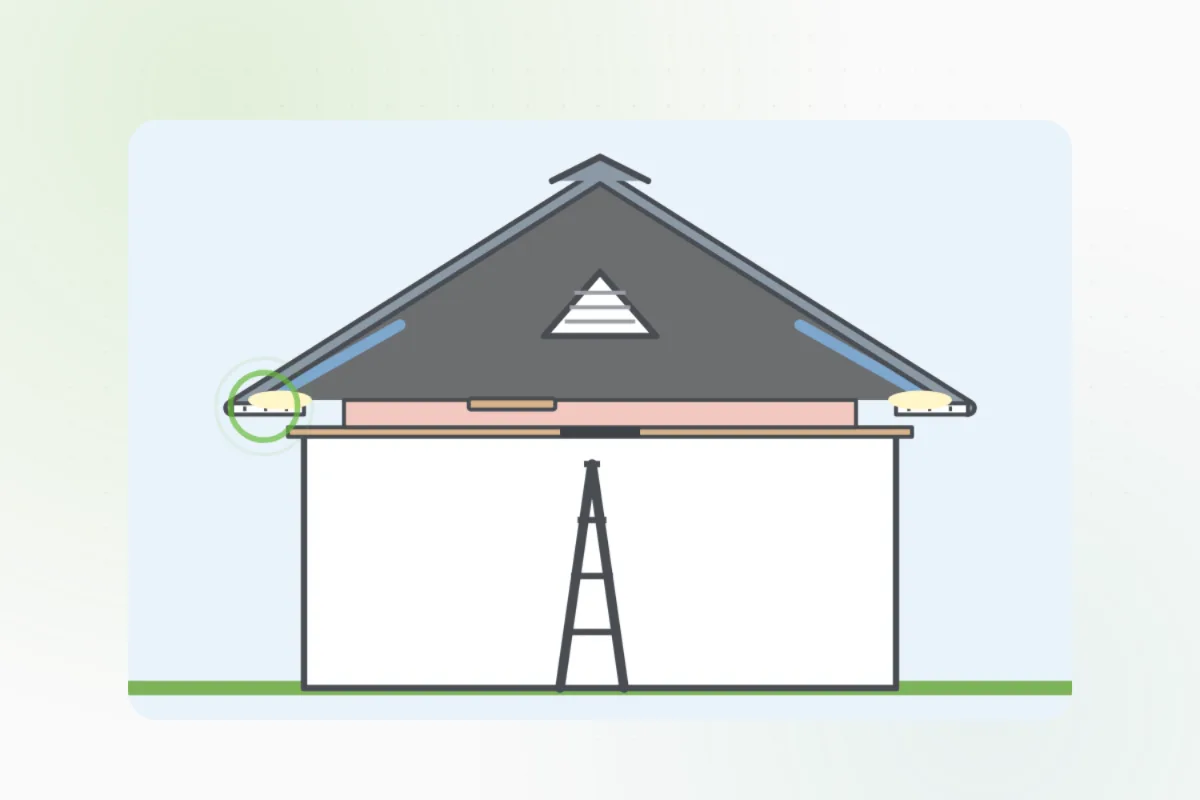
On a cold day, hold a tissue by the hatch's edges and the ceiling lights: if it flutters, warm air is getting out.
Clean the ledge the hatch sits on and stick foam weatherstrip all round it.
Glue a piece of rigid foam to the top of the hatch panel, so it's as warm as the ceiling.
Fit two hook latches so the hatch pulls tight against the strip.
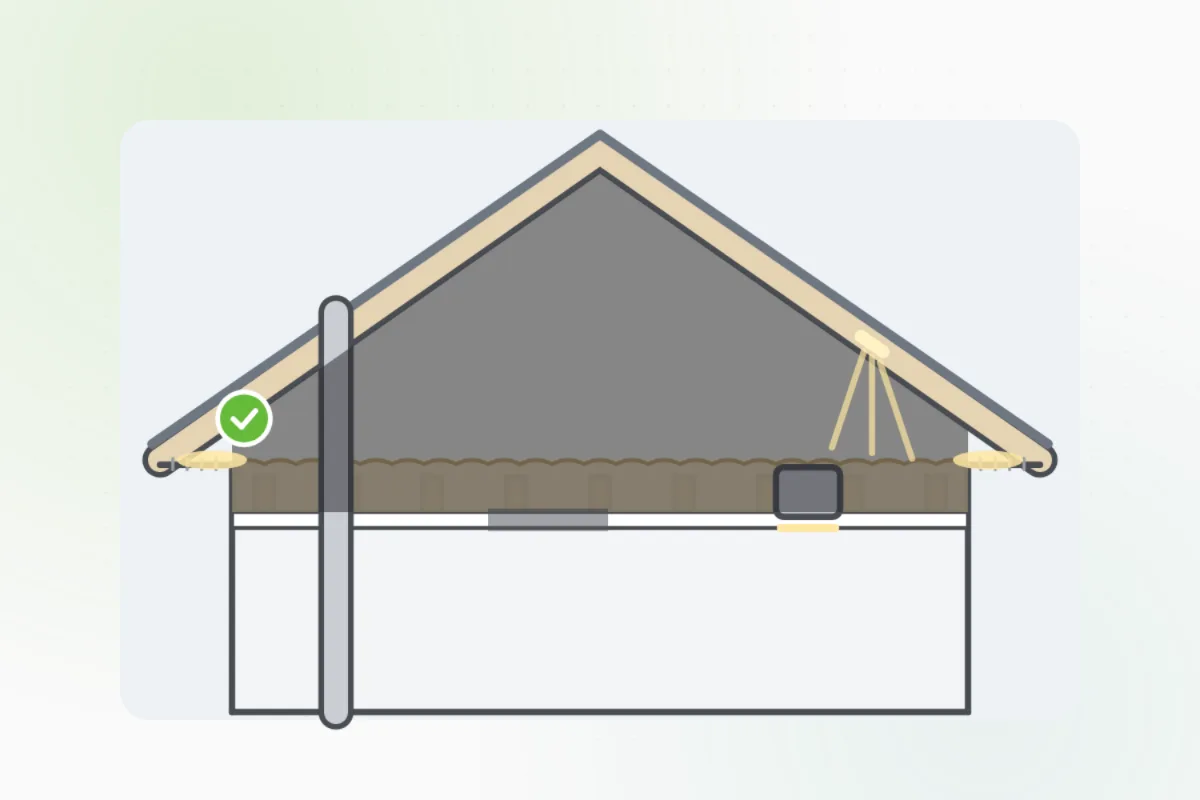
From the attic, kneeling on boards, foam the gaps where pipes and wires come up through the ceiling.
Wear a mask and goggles, and kneel only on boards across the framing.Don't foam over ceiling lights or round the furnace or water heater's flue: those need a pro's covers and metal collar.
Loose grey-brown pebbles in the attic, or lights not rated to be covered: close the hatch and ask Handyman for an insulation pro.
What you need
- Foam weatherstrip
- A piece of rigid foam board and its glue
- Two hook latches
- A can of gap-filling foam
- A dust mask, goggles and gloves
- Boards to kneel on
Call a pro if
- Loose grey-brown pebbles in the attic
- Ceiling lights that aren't rated to be covered
- Gaps round the flue
- Big openings over walls or soffits

Handyman says: Close the hatch. I'll find an insulation pro.
Free for every home. Handyman asks a few questions, then books a pro it trusts.
More heating and air guides
See all 51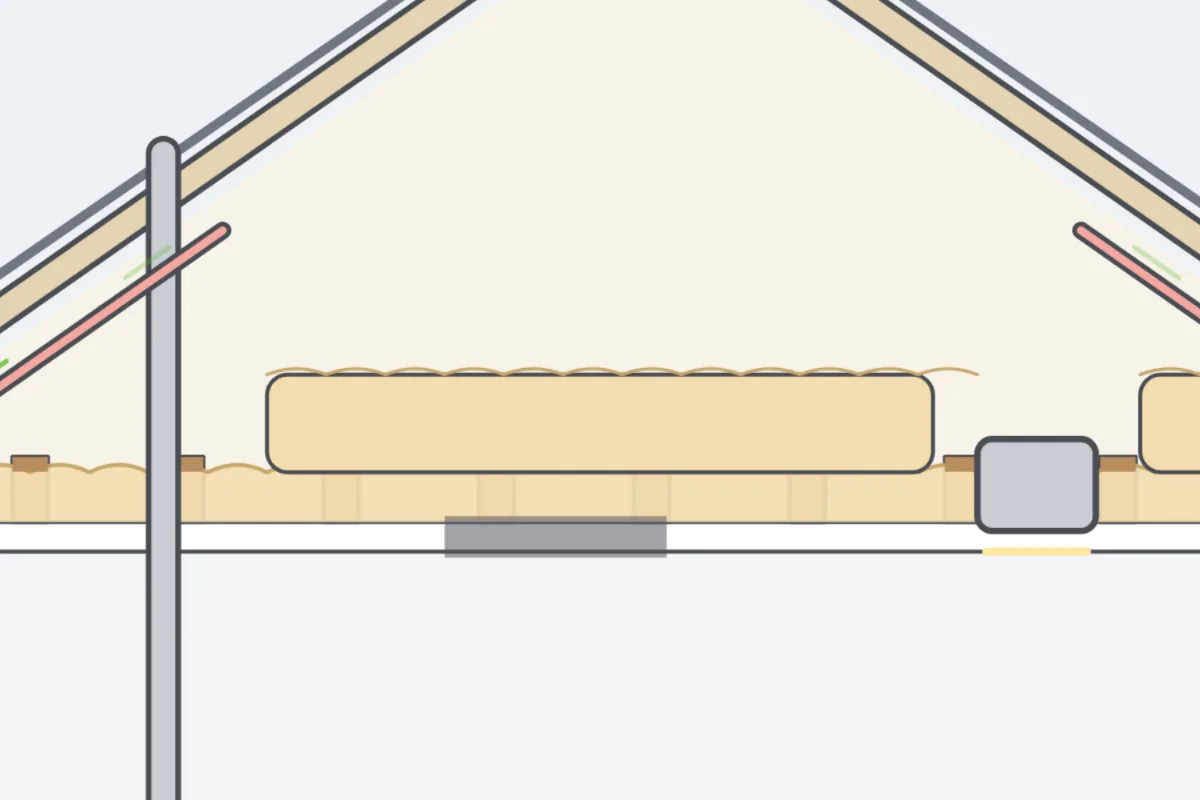
Rather have
a pro do it?