



DIY guideSink valves
Replace the braided supply lines under sinks and toilets
Swap an old supply line for a new braided one: valve off, unscrew it, screw the new one on snug, and check for drips.
- 15 to 30 min
- 7 steps
- Every step animated
7 steps
Tap a step to watch it again.
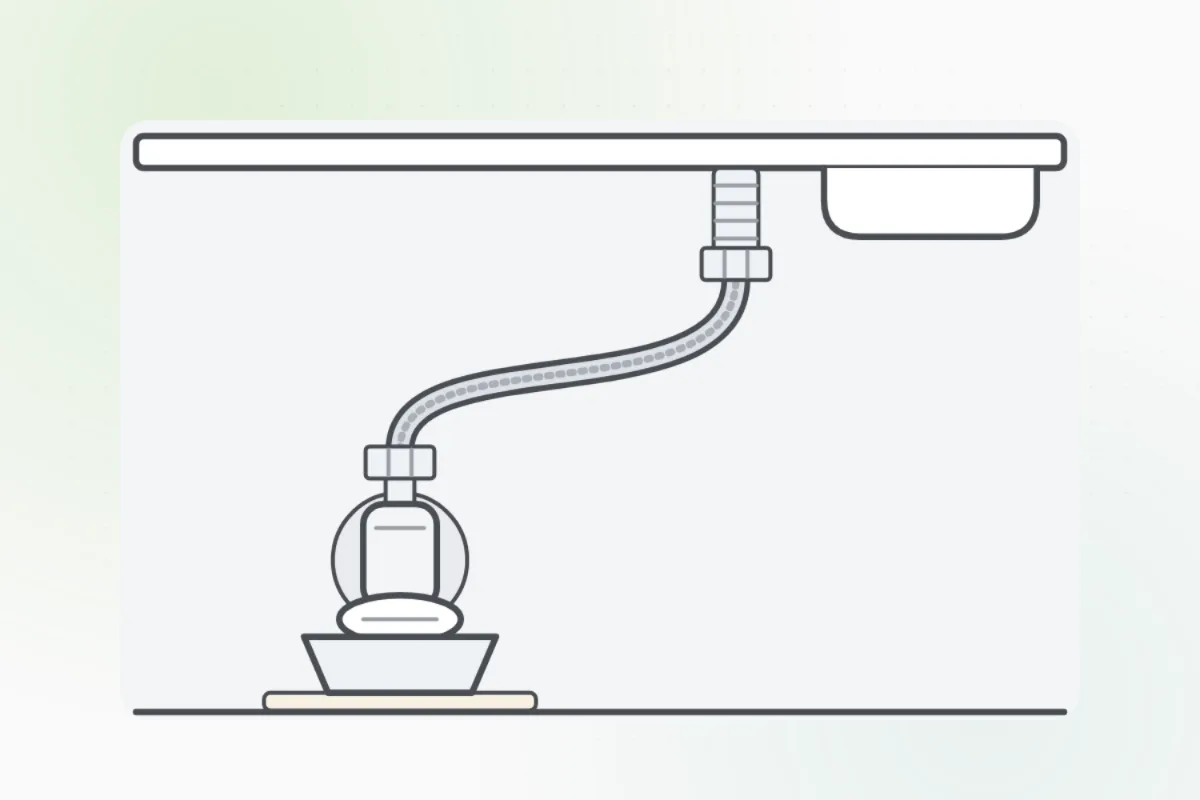
Measure the old line from end to end and take a photo of both nuts. Get a braided stainless line that long, with the same ends.
Turn the valve's handle clockwise until it stops. Then open the faucet, or flush the toilet, to let the pressure out.
Turn it by hand. If it won't close, stop and turn off the main.Set a towel and a bowl under it. Unscrew the nut at the valve, then the one at the faucet or the tank.
Hold the valve steady with your other hand so it doesn't twist.Thread each nut on straight, by hand, until it's snug. If it binds, back it off and start again.
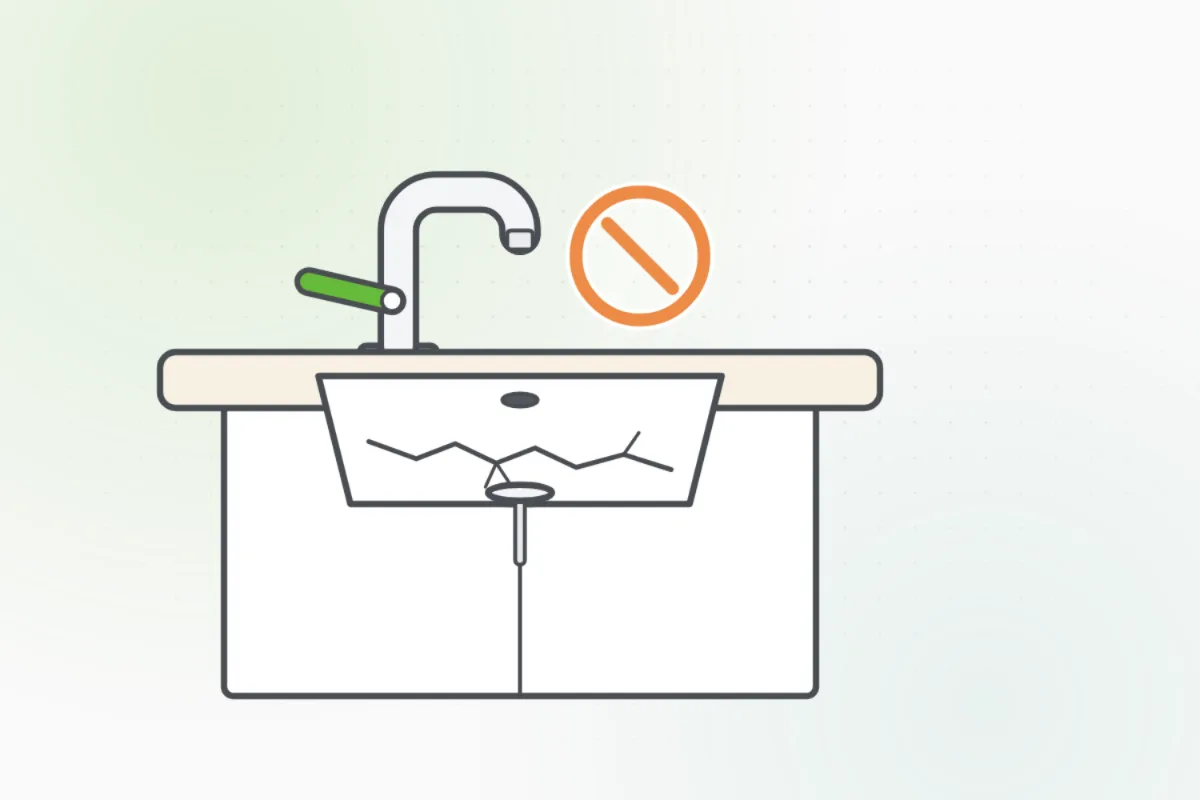
Turn each nut a quarter turn more with a wrench, and no further.
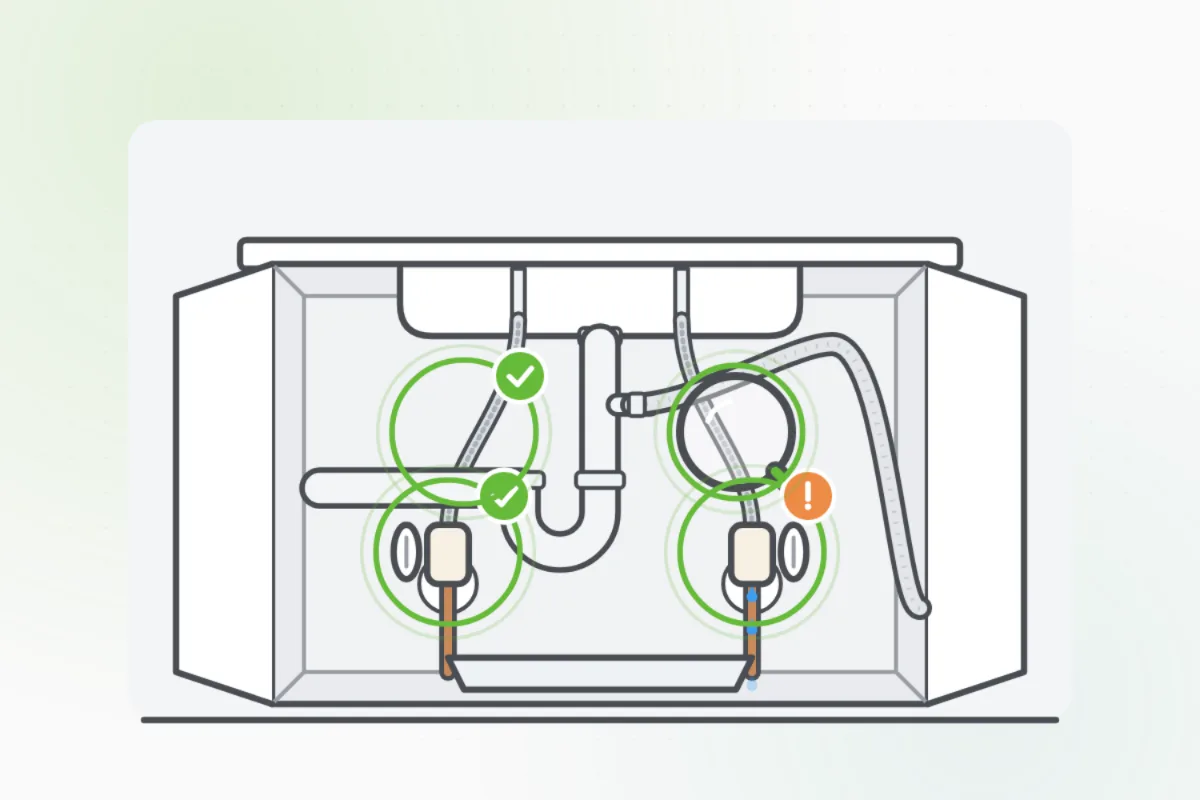
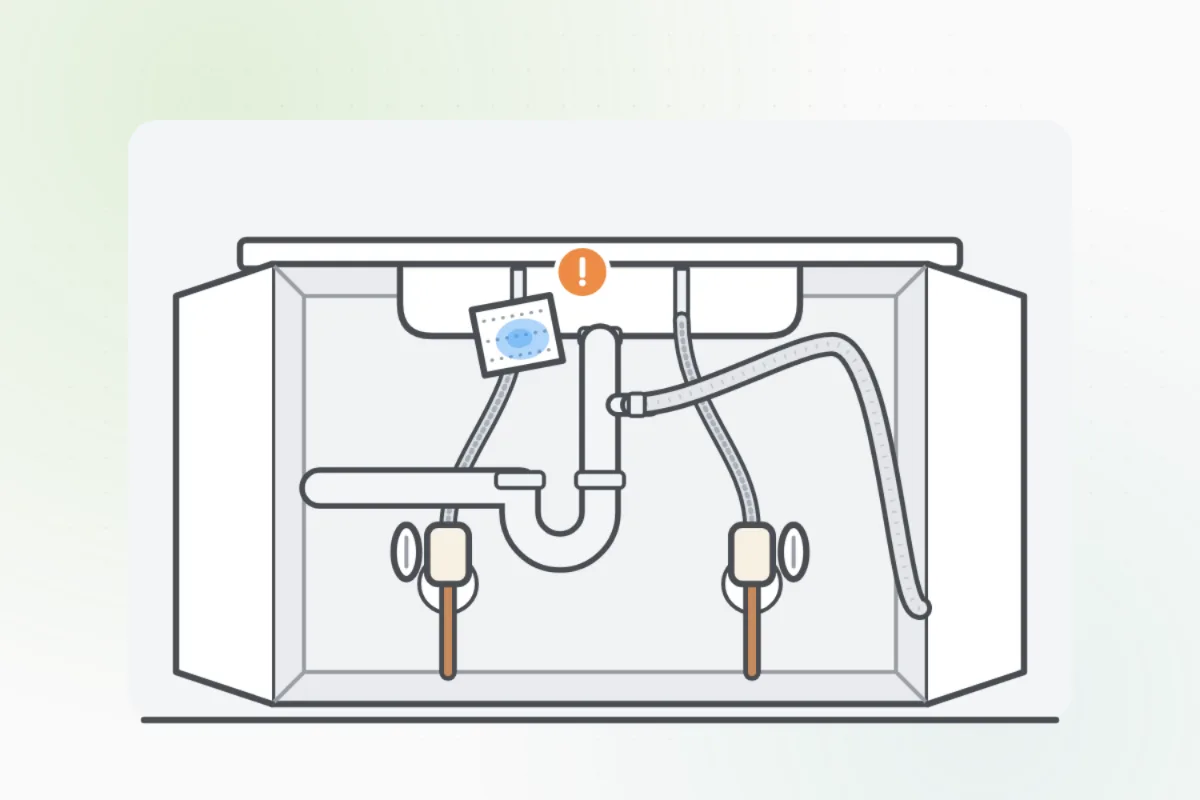
Too tight cracks a plastic nut or the toilet tank's fitting.Open the valve slowly, then run a dry paper towel round each nut. Damp? Snug that nut a little more.
A valve that drips at its stem or won't close, or a nut that still leaks: turn off the main and ask Handyman for a plumber.
What you need
- New braided stainless supply lines
- An adjustable wrench
- A towel and a small bowl
- Dry paper towels
Call a pro if
- The valve won't close, or drips at its stem
- A nut still leaks after snugging it
- The valve or the pipe behind it is corroded

Handyman says: Still leaking? I'll find a plumber.
Free for every home. Handyman asks a few questions, then books a pro it trusts.
More water and plumbing guides
See all 83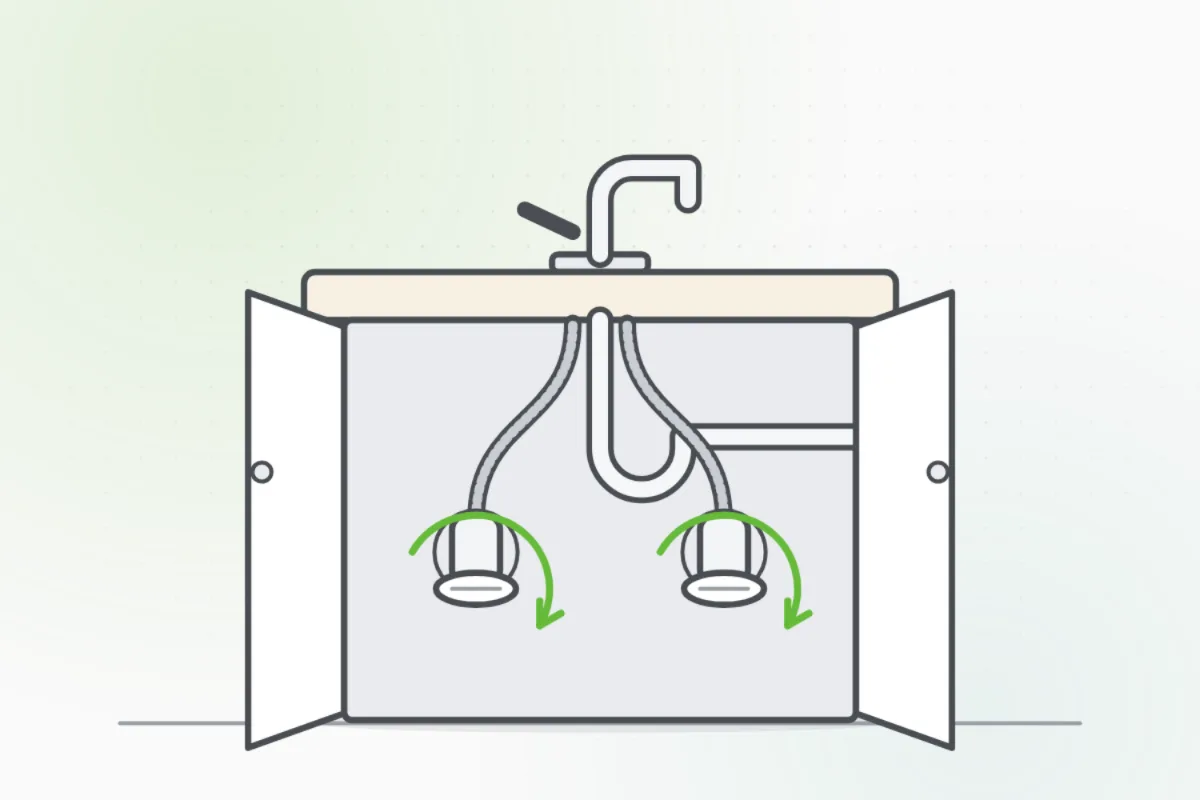
Rather have
a pro do it?