



DIY guideSink valves
Look under the sinks and at the supply lines for leaks
Check under each sink with a flashlight and a dry paper towel, so a slow drip is found before it rots the cabinet.
- 10 to 20 min
- 6 steps
- Every step animated

6 steps
Tap a step to watch it again.
Start at one sink. Take everything out from under it so you can see the back wall and the floor.
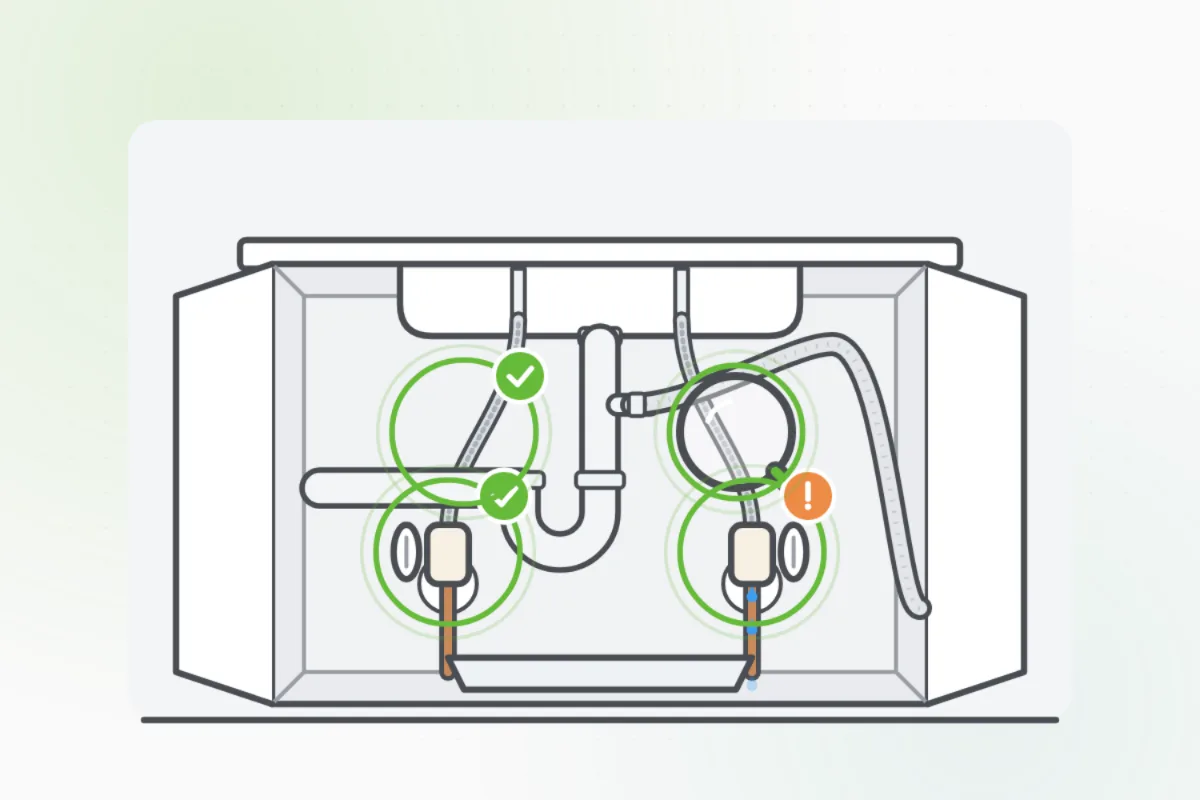
Shine a flashlight on both shutoff valves and the nuts where the lines screw on. White or green crust, rust or a drop means a slow leak.
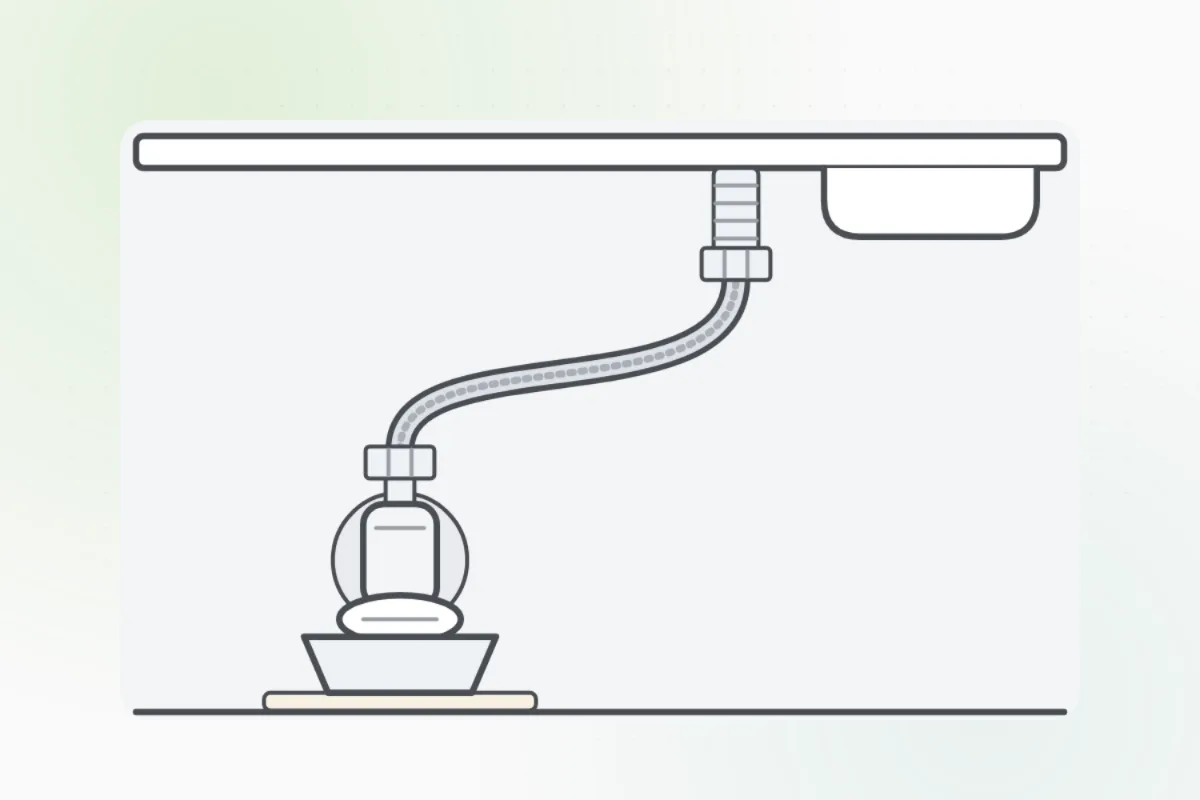
Run a dry paper towel along each line, from the valve up to the faucet. A damp spot shows a leak you can't see. Look for bulges, kinks or frayed braid too.
Run the tap for a minute, then wipe under the trap and each joint. A damp towel means the drain is leaking.
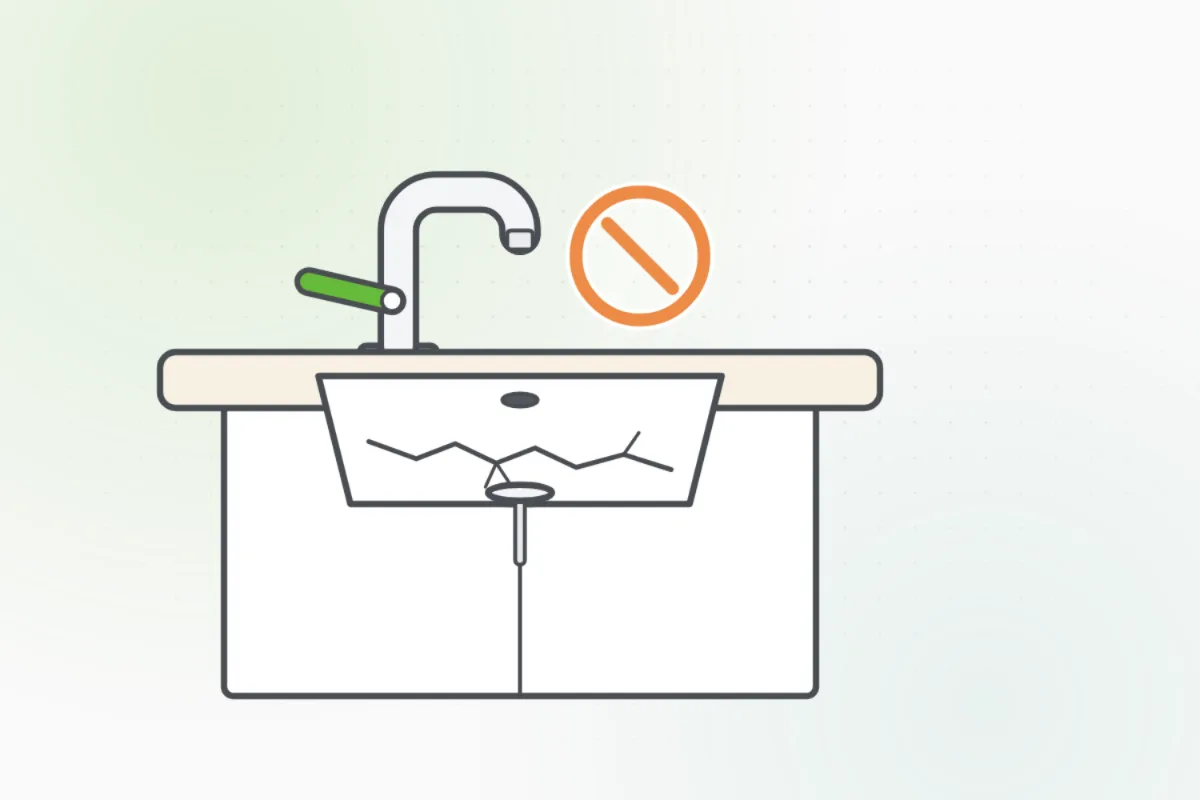
Press the cabinet floor and look at it closely. Soft, swollen or stained wood means water has been getting in for a while.
Turn that sink's valves clockwise until they stop, put a towel down, and ask Handyman for a plumber.
Turn the valves by hand. Forcing an old one can crack it.
What you need
- A flashlight
- Dry paper towels
- A towel, for drips
Call a pro if
- A valve, a line or a nut drips, even slowly
- The trap or a drain pipe leaks when the tap runs
- The cabinet floor is soft, swollen or stained

Handyman says: Found a leak? I'll find you a plumber.
Free for every home. Handyman asks a few questions, then books a pro it trusts.
More water and plumbing guides
See all 83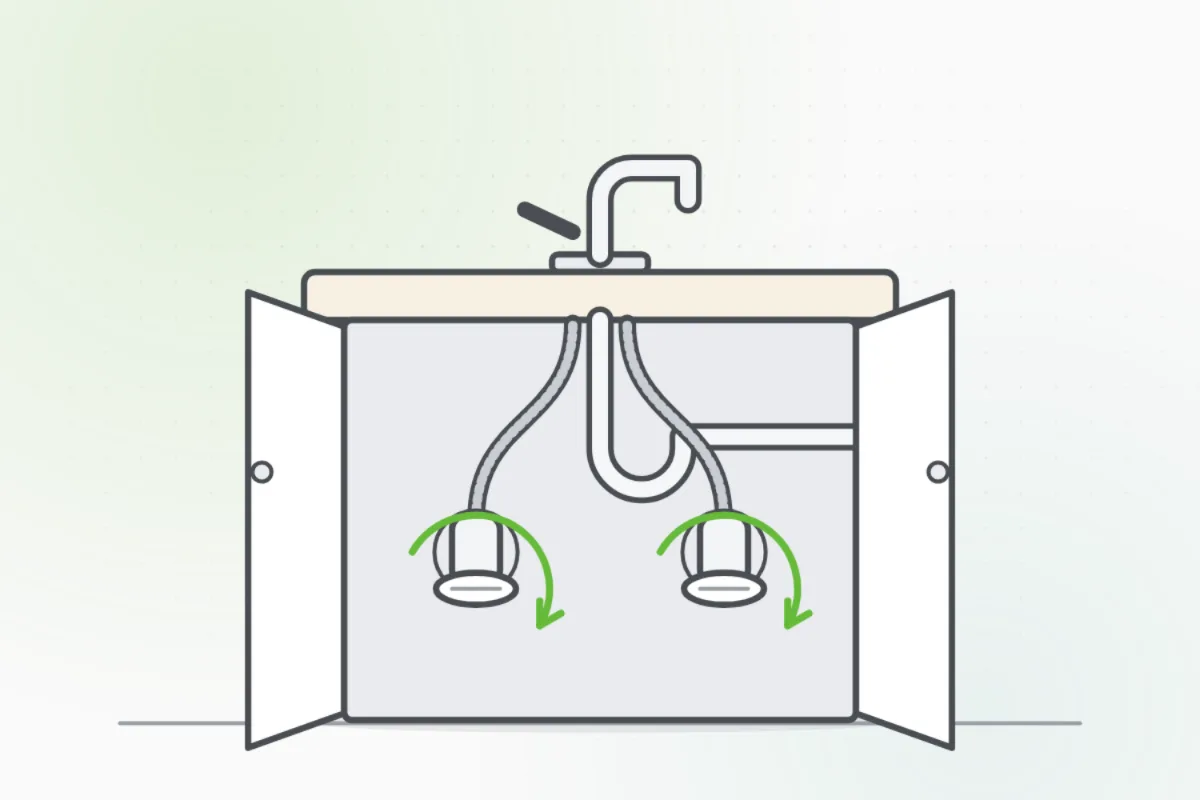
Rather have
a pro do it?