



DIY guideDryer
Replace the dryer vent ducting
Swap a foil or plastic hose for rigid or semi-rigid metal duct, kept short and straight, with clamps and foil tape and never screws.
- 30 min to 1 hr
- 9 steps
- Every step animated
9 steps
Tap a step to watch it again.
Unplug the dryer and slide it out from the wall.
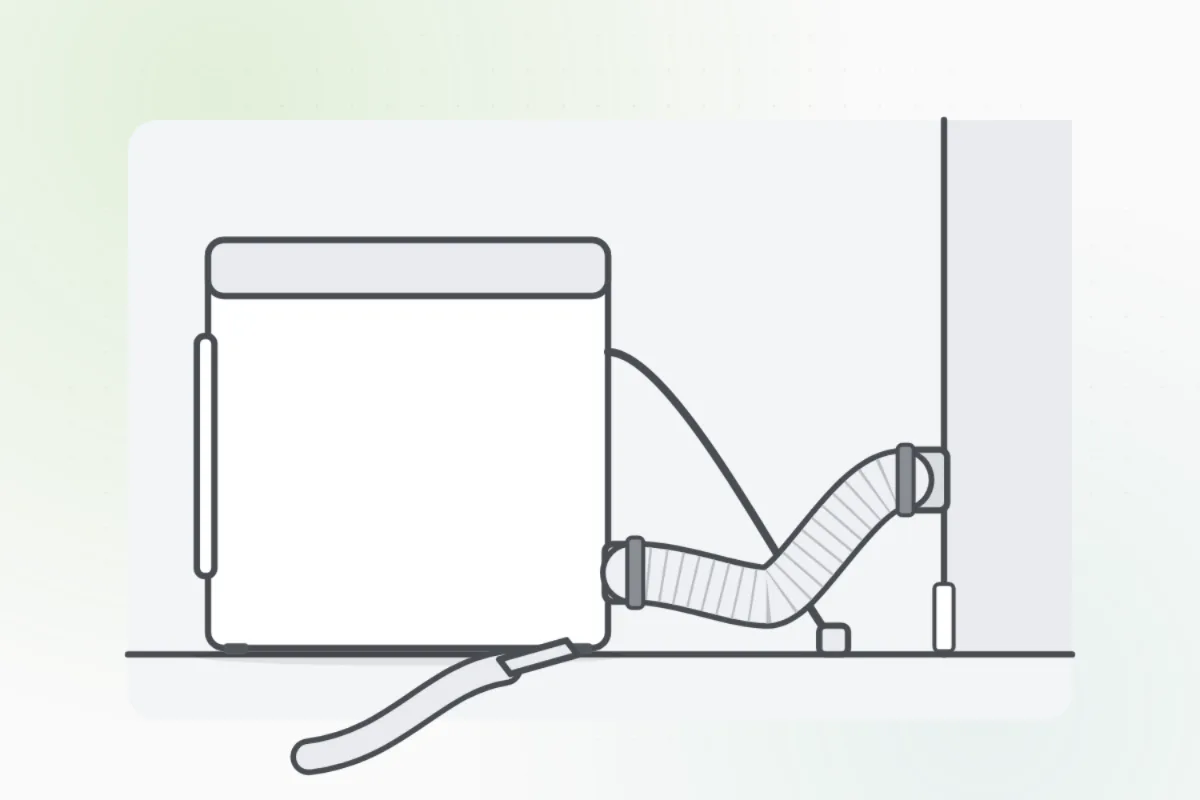
If the dryer runs on gas, move it gently and don't disconnect or kink the gas line.Loosen the clamps and pull the old hose off the dryer and off the pipe in the wall.
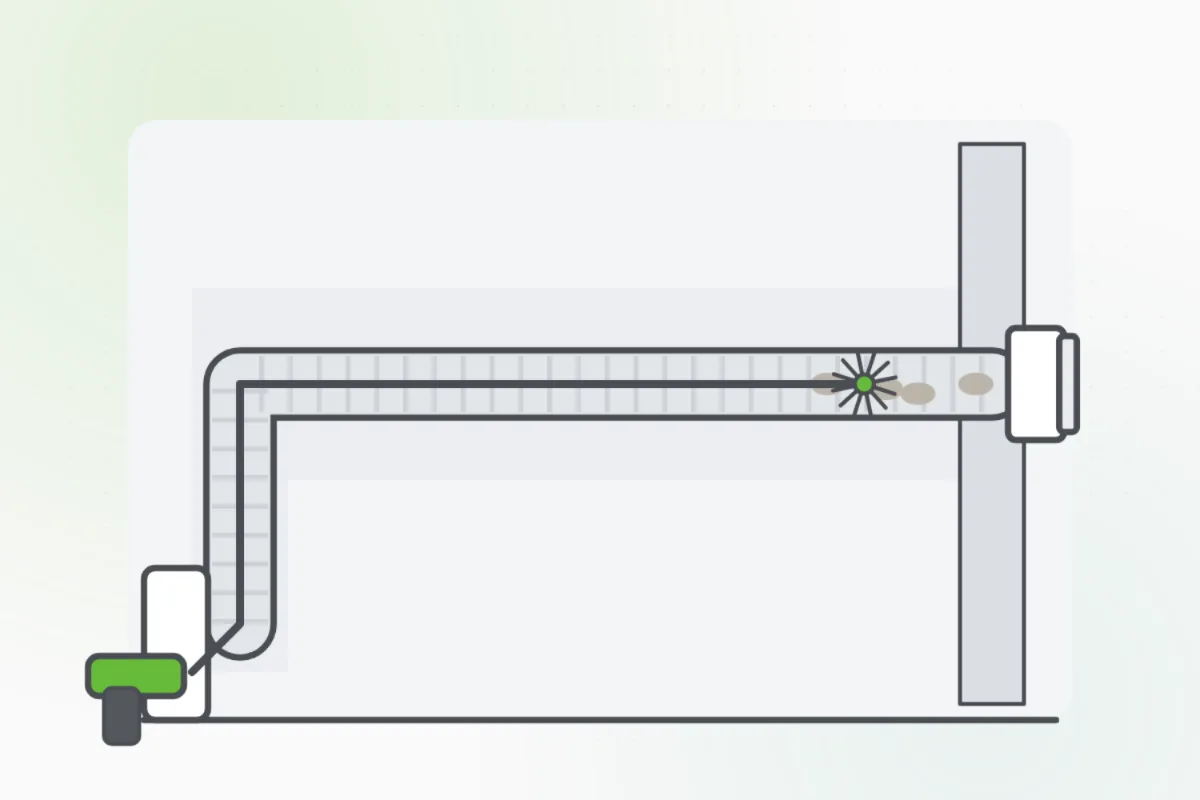
Vacuum the lint out of the dryer's outlet and the pipe in the wall, as far as you can reach.
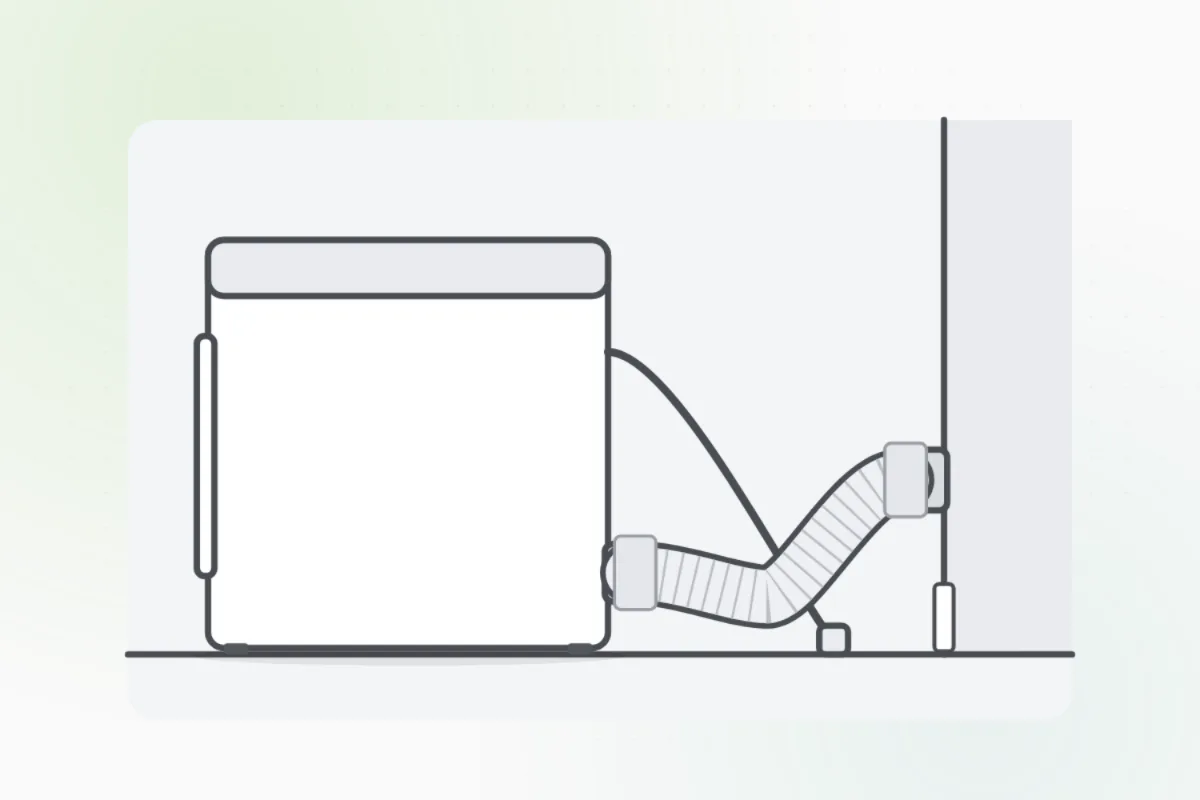
Measure from the dryer's outlet to the wall pipe, with the dryer where it will sit. Short and straight, with as few bends as you can.
Slide one end of the rigid or semi-rigid metal duct over the dryer's outlet and the other over the wall pipe, and tighten a clamp on each.
Wrap foil tape round each joint. Never use screws: their tips catch lint inside.
Plug the dryer in and slide it back slowly, leaving room so the duct doesn't crush.
Run the dryer on air only and check that the flap outside opens and air pushes out strongly.
A duct that's crushed, plastic or foil inside a wall, one that runs up to the roof, or a run longer than the dryer's manual allows: ask Handyman for a dryer vent pro.
What you need
- Rigid or semi-rigid metal dryer duct
- Two duct clamps
- Foil tape (not cloth duct tape)
- A screwdriver or nut driver
- A vacuum with a hose
- A tape measure
Call a pro if
- The duct inside the wall is crushed, plastic or foil
- It runs up to the roof, or a long way through the house
- Clothes still take more than one cycle to dry

Handyman says: Inside the wall? I'll find a vent pro.
Free for every home. Handyman asks a few questions, then books a pro it trusts.
More appliances guides
See all 34

Rather have
a pro do it?