



DIY guideFaucet
Fix a dripping faucet
Shut the water off, take the handle apart, and swap the worn cartridge or washer that lets it drip.
- 30 min to 1 hr
- 8 steps
- Every step animated
8 steps
Tap a step to watch it again.
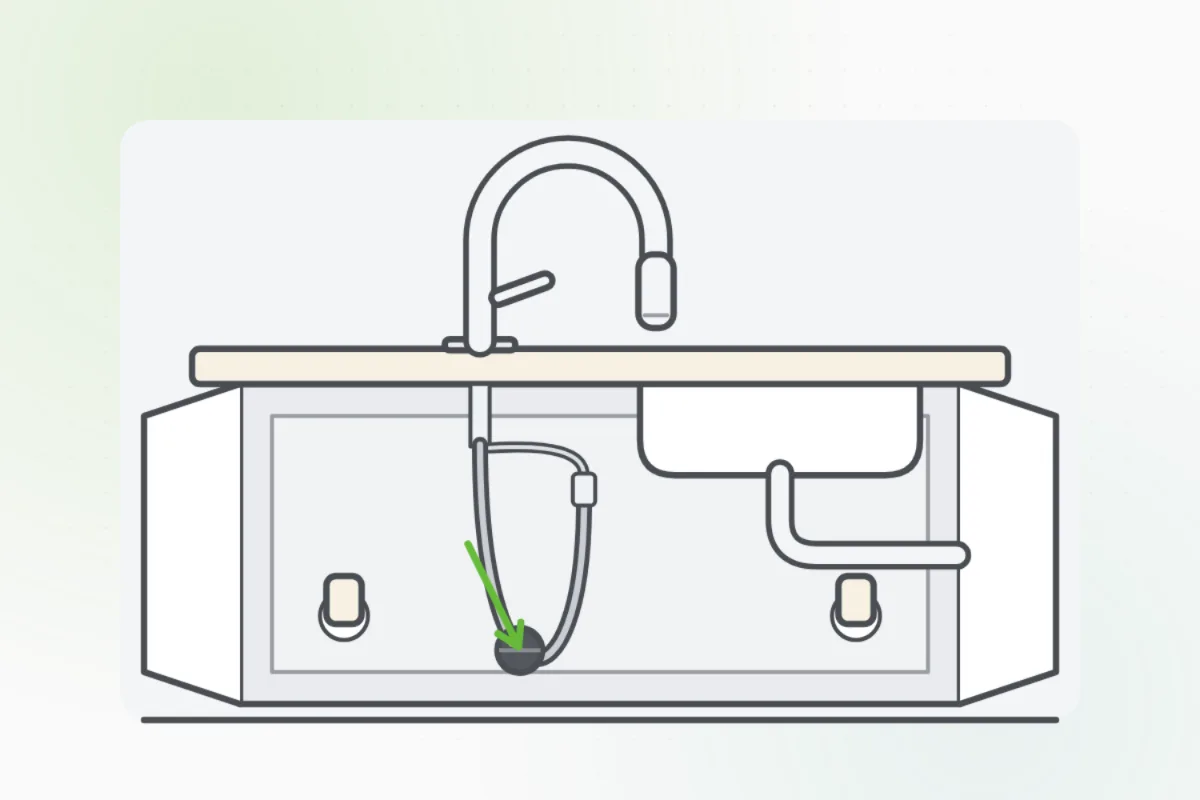
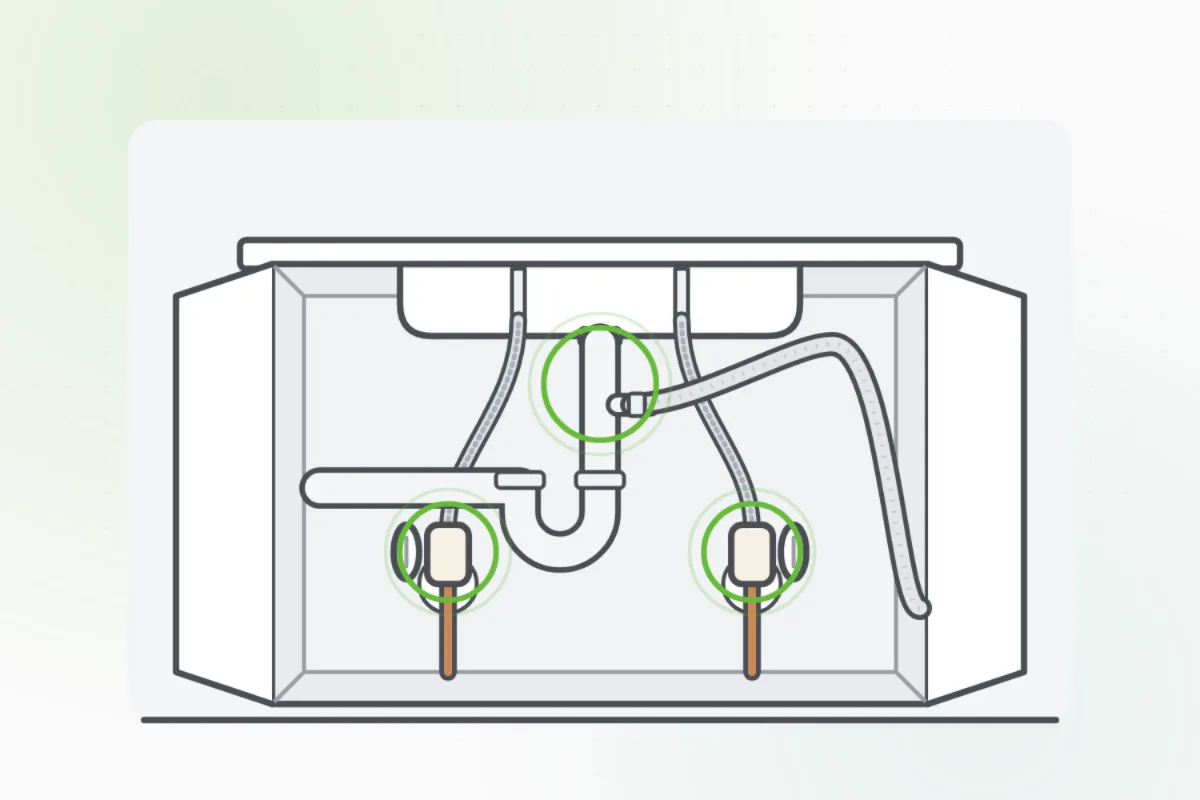
Turn both valves under the sink clockwise until they stop, then open the faucet to let the last water out.
Close the drain or lay a cloth in the sink, so no small part can fall down it.
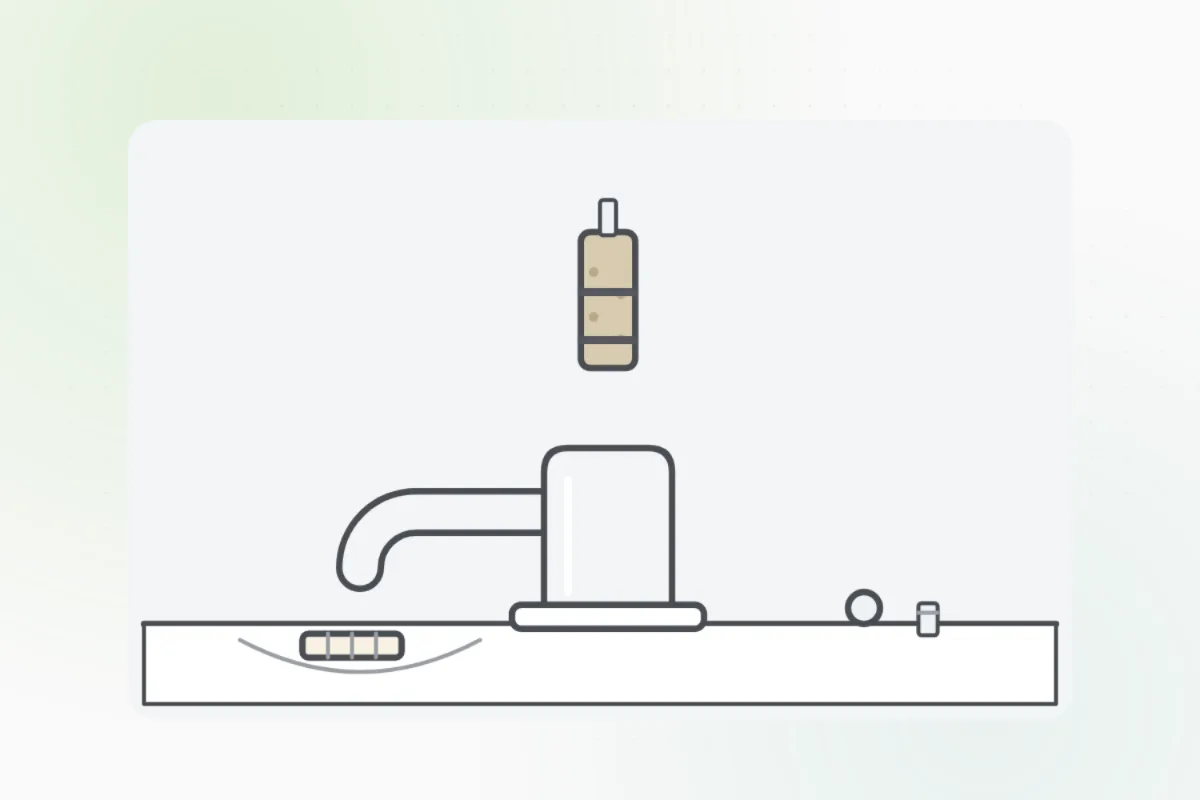
Pry off the little cap on the handle, undo the screw under it, and lift the handle off.
Undo the nut or clip that holds it, then pull the cartridge straight up and out. On a two-handle faucet it's a stem with a washer at its end. Note which way it sat.
Take the old cartridge, or the stem's washer and O-ring, to a hardware store and get the same one. A matching part is what makes it seal.
Push the new cartridge in the way the old one sat, then refit the nut, the handle, its screw and the cap.
Open the valves slowly and run the faucet. Turn it off and watch the spout: no more drip.
If it still drips, a part won't come out, or the faucet's body is cracked or crusted, stop and ask Handyman for a plumber.
What you need
- A flat and a Phillips screwdriver
- An adjustable wrench
- The matching cartridge, or washers and O-rings
- A cloth
Call a pro if
- It still drips with the new part in
- The cartridge or stem won't come out
- The faucet's body is cracked or badly crusted
- The valves under the sink won't close

Handyman says: Still dripping? I'll find a plumber.
Free for every home. Handyman asks a few questions, then books a pro it trusts.
More water and plumbing guides
See all 83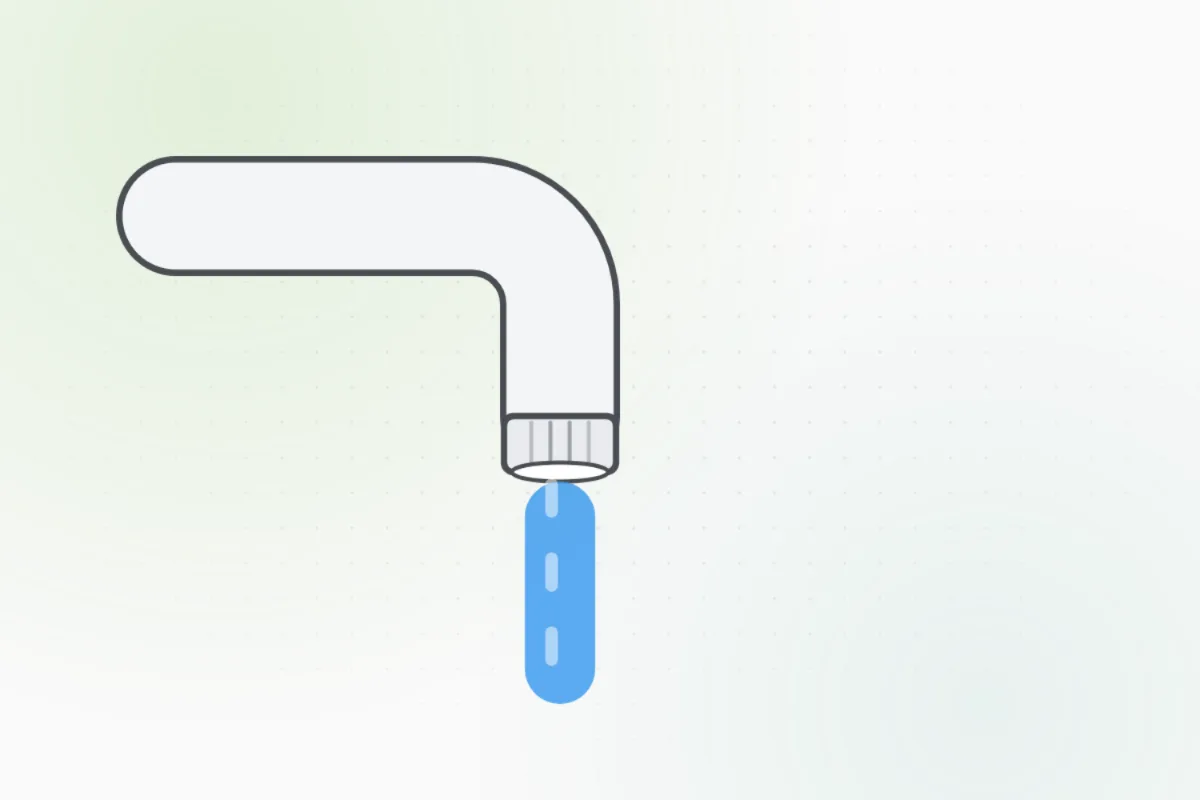
Rather have
a pro do it?