



DIY guideBuilding fire safety
Test the emergency lights and exit signs
Push each unit's test button every month and check it lights up bright, and once a year let them run on battery for their full rated time. Log every test.
- 20 min to 2 hr
- 8 steps
- Every step animated
8 steps
Tap a step to watch it again.
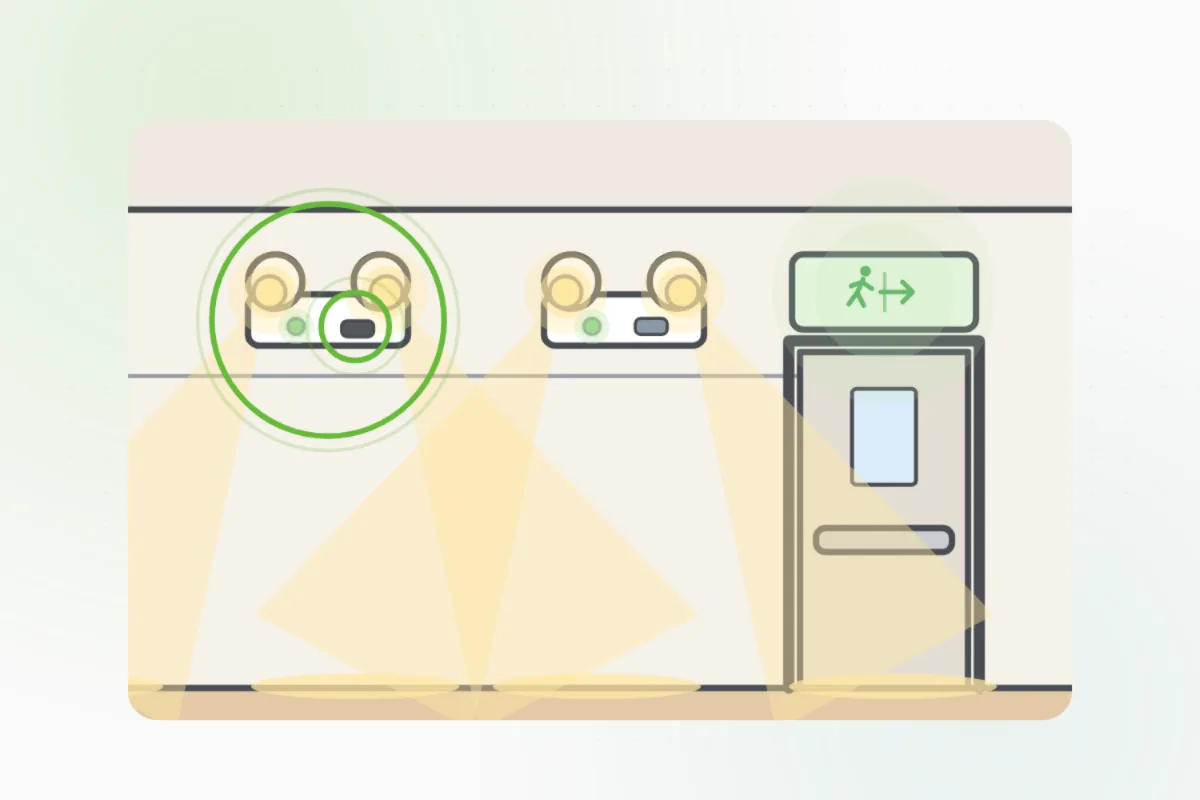
Walk each hall, stairway and exit, and list every emergency light and exit sign, so none is missed.
Each unit has a small light that shows it's charging its battery. It should be on.
Every month, press and hold each test button for the time on its label. Both lamps should come on bright, and the sign should stay lit.
Each lamp should point along the way out, not at a wall. Turn a knocked lamp head back by hand.
Use a step stool or a ladder on firm ground, never a chair.Switch off their circuit at the breaker box, or use their long-test switch, and let them run on battery for their full rated time. Every lamp should stay bright to the end.
Do it when the building is quiet, with a flashlight in hand.Switch the power back on right after, and check every charge light comes back on.
Write down each unit and what you found in the building's fire log, and send a photo of the page to Handyman.
A lamp that's dim or dark, goes out before the end, or a sign that won't light: tag it and ask Handyman for an electrician.
What you need
- The building's fire log
- A step stool or a ladder
- A flashlight
- Tags or tape to mark a failed unit
Call a pro if
- A lamp is dim, dark or dies before the full run ends
- An exit sign won't light
- A charge light stays off

Handyman says: Dim or dark? I'll find an electrician.
Free for every home. Handyman asks a few questions, then books a pro it trusts.
More power and safety guides
See all 43
Rather have
a pro do it?