



DIY guideLawn sprinklers
Replace the irrigation controller or a zone solenoid
Photograph the wires, unplug the controller and move each thin wire across, or swap a zone's solenoid with the water off.
- 30 min to 1½ hr
- 8 steps
- Every step animated
8 steps
Tap a step to watch it again.
Open the controller's wire cover and take a clear photo of which wire goes to which terminal.
Unplug the controller's plug-in power block from the outlet.
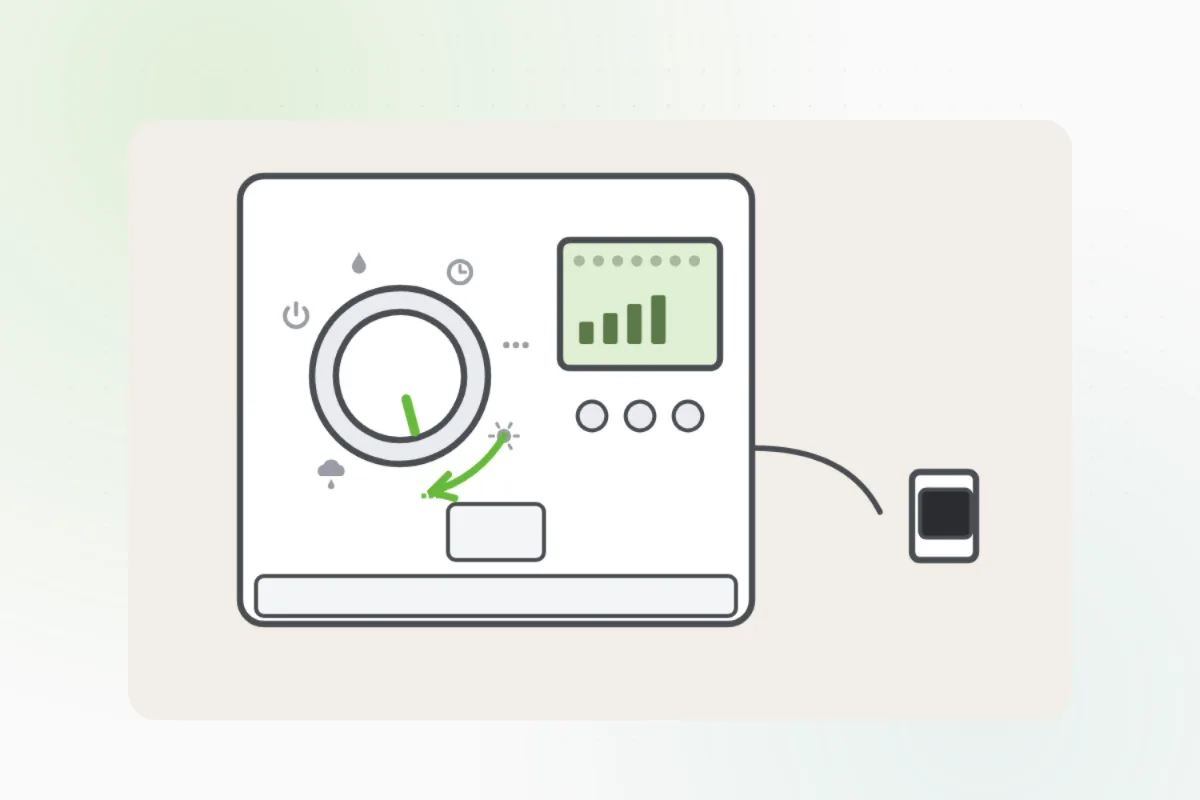
Mount the new controller and move the wires across one at a time, to the same terminals: the common, then each zone.
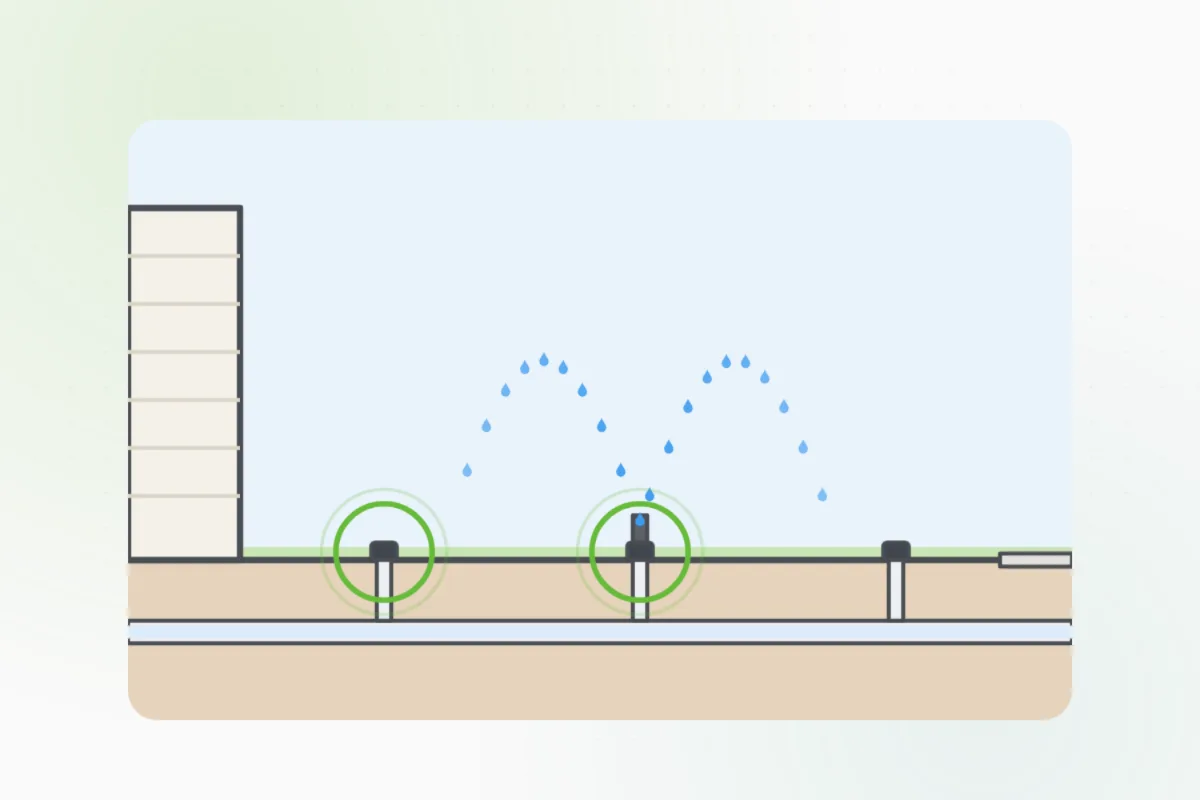
Plug it in, set the program, and run each zone for a minute to check it.
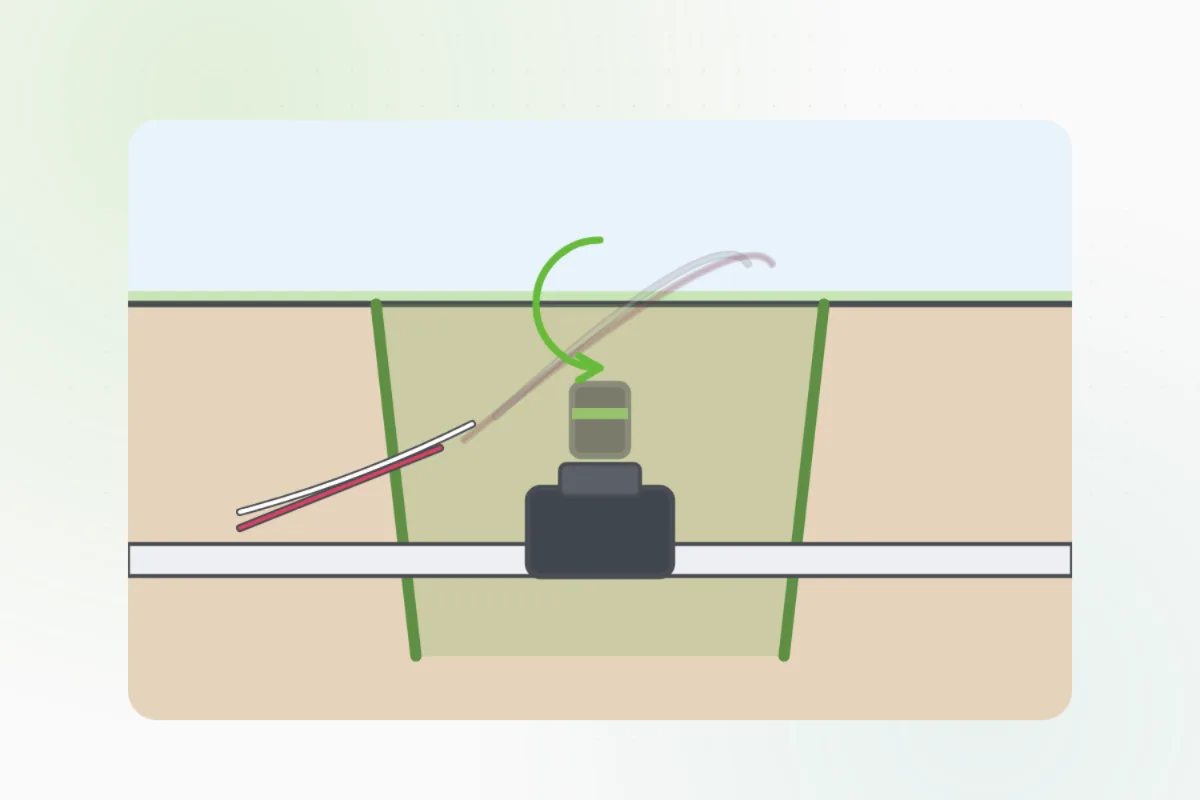
For one zone that won't run, turn off the sprinkler water and the controller, and open the valve box.
Unscrew the solenoid from the valve by hand, cut its two wires, and screw the new one on hand-tight.
Join the wires with waterproof gel-filled connectors: one to the common, one to the zone's wire.
A controller wired straight into the house's power is an electrician's; a valve box that keeps filling with water is a sprinkler pro's. Ask Handyman.
What you need
- The new controller or solenoid
- A small screwdriver
- Waterproof gel-filled wire connectors
- Wire cutters and strippers
- A phone for the photo
Call a pro if
- A controller wired straight into the house's power
- A valve box that keeps filling with water
- Several zones failing at once

Handyman says: Leave it be. I'll find a sprinkler pro.
Free for every home. Handyman asks a few questions, then books a pro it trusts.
More outside and the yard guides
See all 72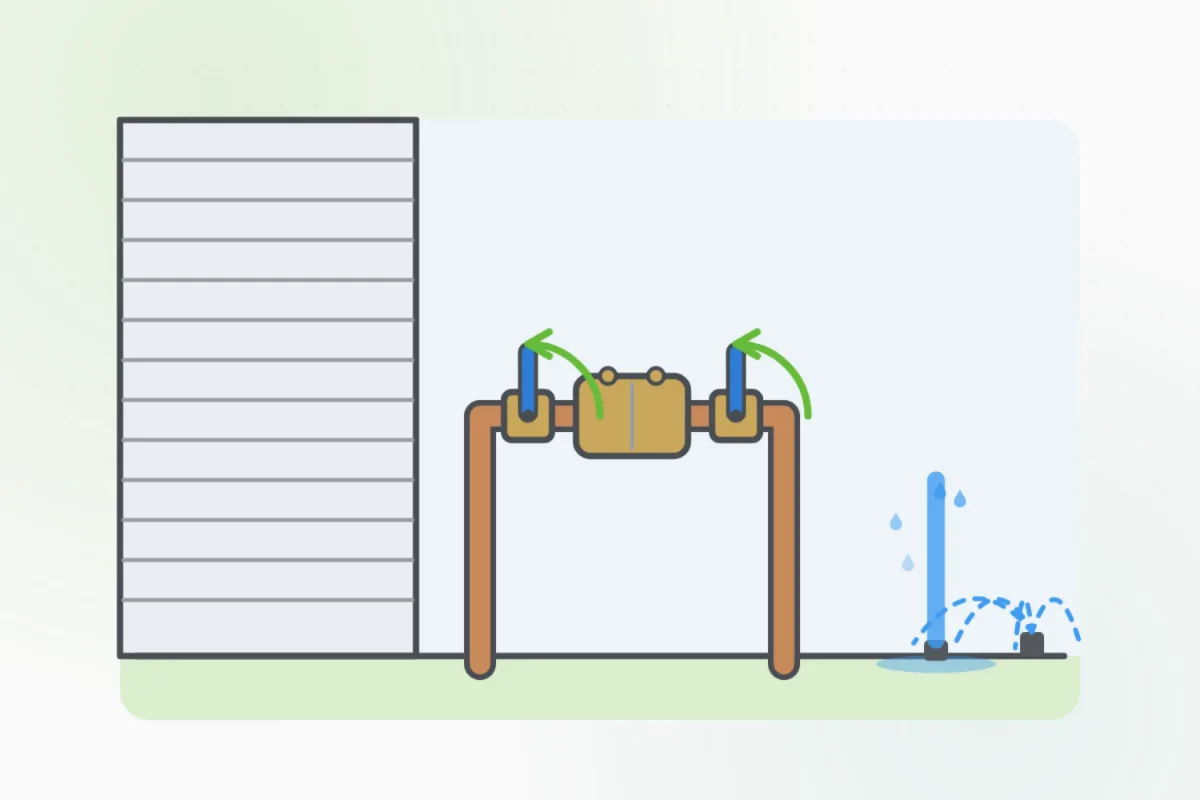
Rather have
a pro do it?