



DIY guideWall
Install a closet organizer
Find the studs, screw a level rail into them, hang the uprights, and clip in the shelves and rods: a closet system that holds its load.
- 1½ hr to 4 hr
- 8 steps
- Every step animated
8 steps
Tap a step to watch it again.
Empty the closet. Measure its width, depth and height, and plan where the rods and shelves go.
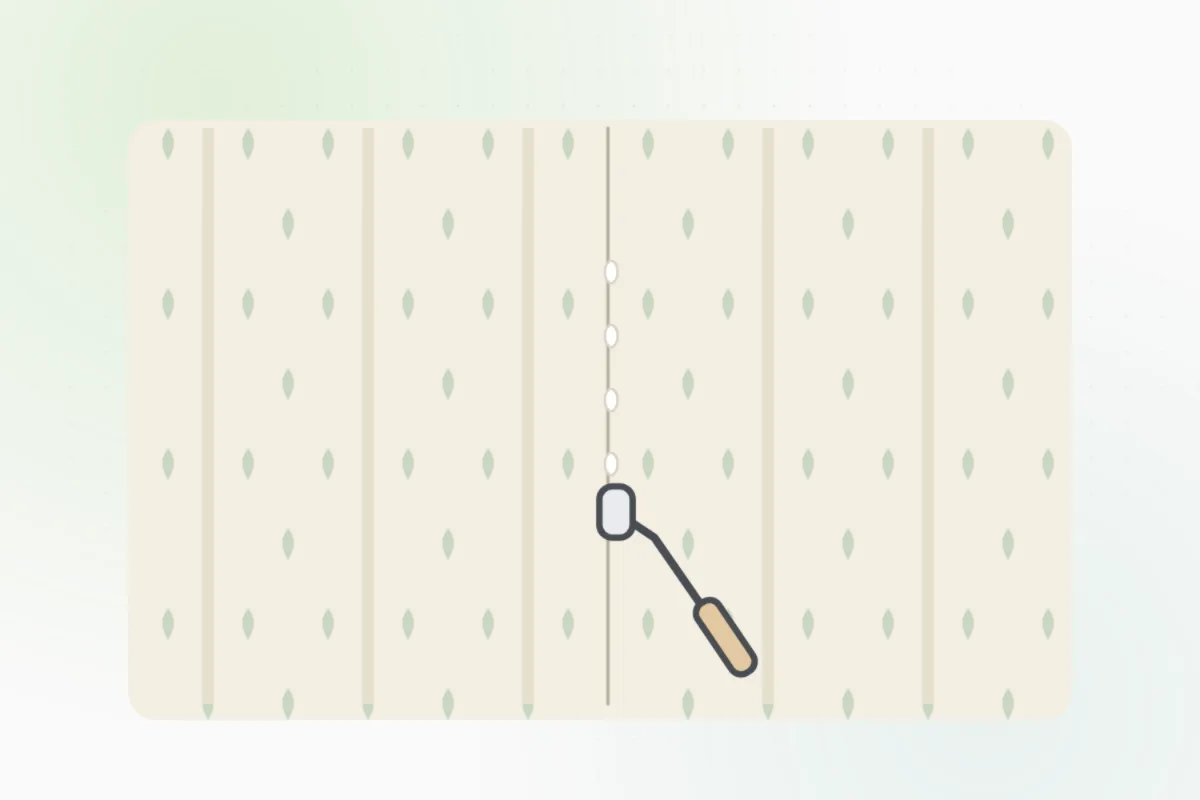
Slide a stud finder along the back wall at the rail's height, and mark each stud with a pencil.
Pipes and cables run in walls: check with the stud finder before you drill.Hold the rail against the wall at the height the kit says, set a level on it, and draw a line along its top.
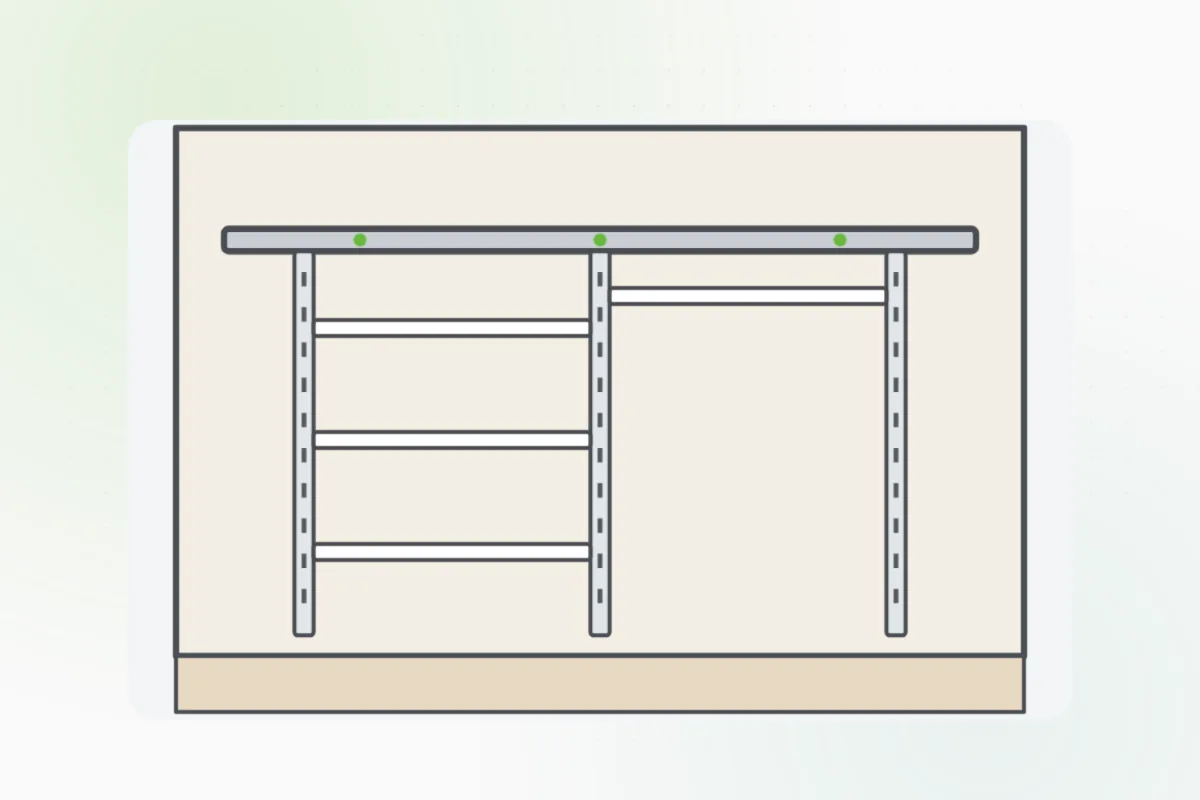
Drill and screw the rail into every stud along the line. Use wall anchors only where there's no stud.
Hook the uprights onto the rail where your plan says, and check each one hangs straight.
Clip the brackets, shelves and rods into the uprights, and press each one home.
Hang the clothes. The rail should stay tight to the wall and the shelves level.
The rail pulls away, the drill hits metal or a pipe, or the wall crumbles: stop and ask Handyman for a handyman.
What you need
- The closet kit
- A stud finder
- A level and a pencil
- A drill and bits
- A tape measure
Call a pro if
- The rail pulls away from the wall
- The drill hits metal or a pipe
- Plaster or drywall crumbles

Handyman says: Pulling loose? I'll find a handyman.
Free for every home. Handyman asks a few questions, then books a pro it trusts.
More around the house guides
See all 70
Rather have
a pro do it?