



DIY guideDock and shore
Look over the dock cribs, decking and fasteners
Walk the dock and look along it from shore: loose or soft boards, popped nails, rusted hardware, and cribs or floats that have shifted or tipped.
- 30 min to 1 hr
- 8 steps
- Every step animated
8 steps
Tap a step to watch it again.
Stand on shore and look down its length. It should run straight and level, not tipped or bowed.
Walk it slowly in shoes, feeling for boards that move, bounce or sag.
Push a screwdriver into dark or soft-looking boards. If it sinks in, the board is rotting.
Drive popped nails back, or put a deck screw in beside them. Tighten loose bolts you can reach from the top.
Look at brackets, chains, cables and pins for rust that has eaten into the metal.
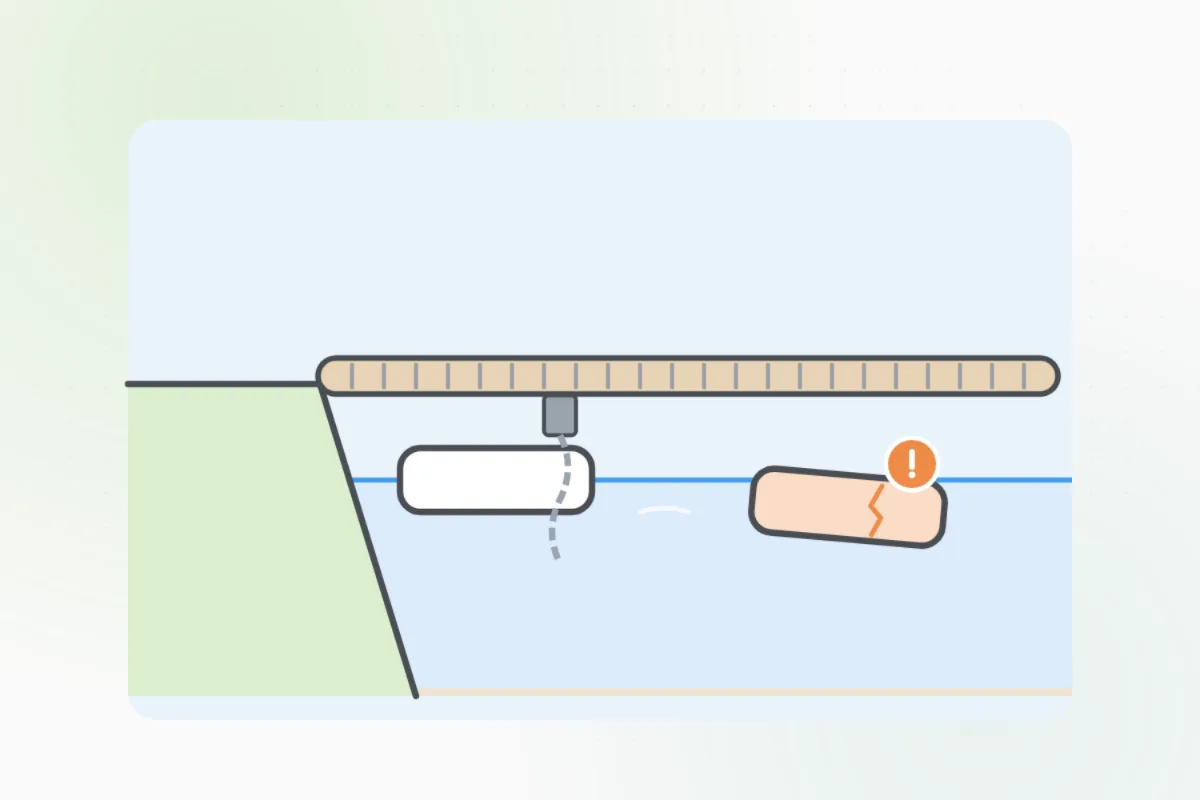
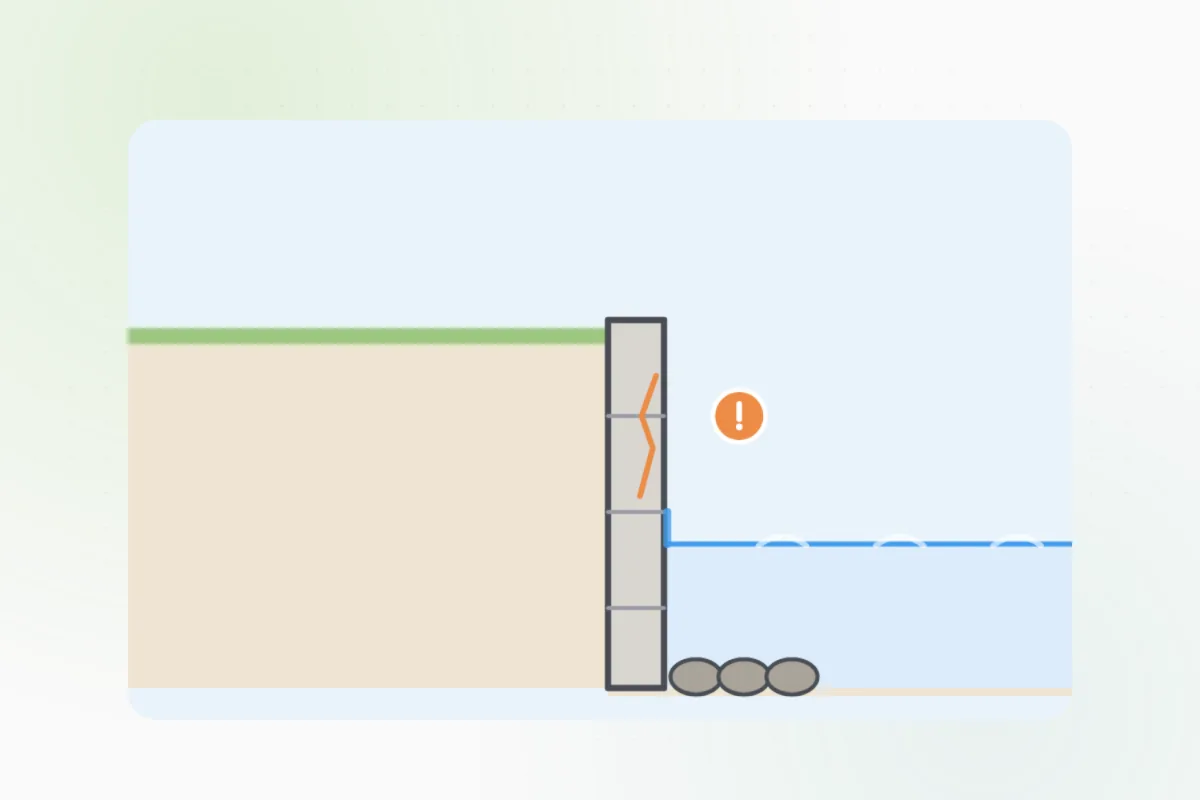
From the dock or a boat, look at each crib: rocks spilling out, timbers rotted at the waterline, or one leaning.
Wear a life jacket working at the edge.On a floating dock, look for a float sitting lower than the rest, or cracked.
A crib that has shifted, a dock that leans or sags, or rot in the frame under the boards: keep off it and ask Handyman for a dock builder.
What you need
- A screwdriver
- A hammer and deck screws
- A wrench
- A life jacket
Call a pro if
- A crib has shifted or is spilling rock
- The dock leans or sags
- Rot in the frame under the boards
- A float is cracked or sinking

Handyman says: Crib shifted? I'll find a dock builder.
Free for every home. Handyman asks a few questions, then books a pro it trusts.
More outside and the yard guides
See all 72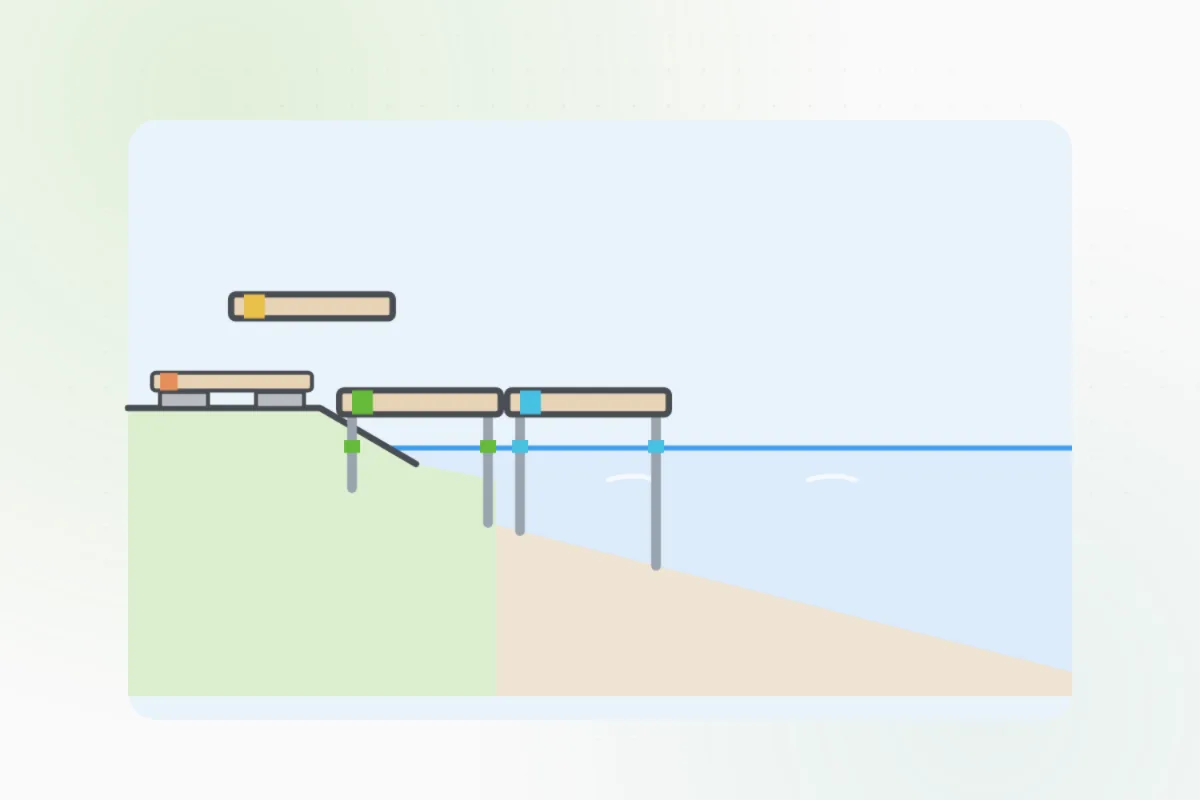
Rather have
a pro do it?